 Baldur's Gate 3
Baldur's Gate 3 baldurs gate 3 best necromancer build
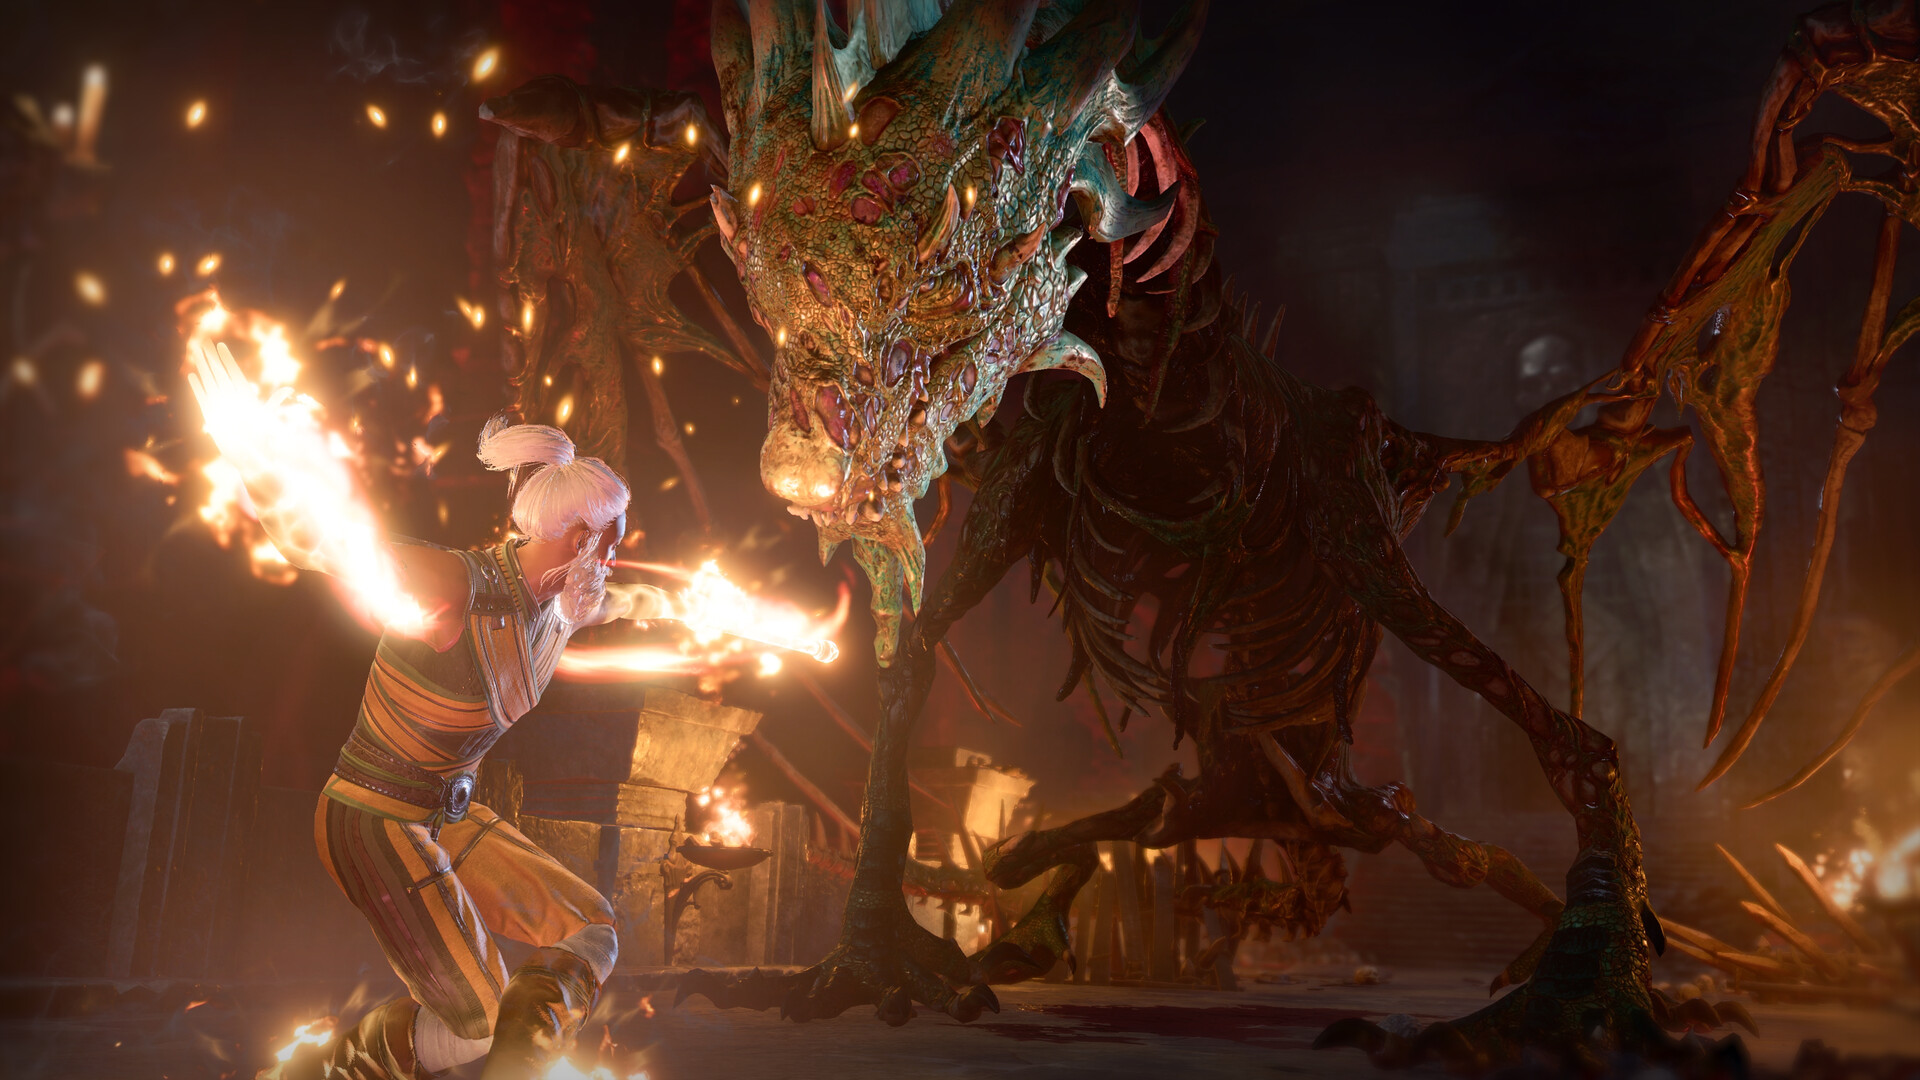
Quick Answer: The best necromancer build in Baldur’s Gate 3 is usually a Wizard-focused summon-and-control setup that abuses corpse economy, crowd control, and undead scaling to flood fights with bodies while you stay safely behind your frontline.
Build Identity
The baldurs gate 3 best necromancer build is a battlefield-control summoner that wins by action economy, not raw burst. Its job is to turn every fight into a numbers problem: you lock enemies down with control spells, then overwhelm them with undead, animated minions, and persistent damage zones while your party handles priority targets.
A strong necromancer in BG3 plays like a hybrid of controller and attrition engine. You are not trying to duel bosses head-on. You are trying to create so much pressure on the field that the enemy spends turns cleaning up summons instead of threatening your backline. In practical terms, that means using spells like Animate Dead, Glyph of Warding, Haste, Counterspell, and whatever your chosen class package gives you for reliable setup and protection. The build becomes especially dangerous when fights begin with pre-positioning, because undead bodies are much more valuable when they are already in range and the enemy has to move into your kill zone.
This archetype scales well through the full campaign because Baldur’s Gate 3 is built around encounter scripting, terrain, and initiative swings. Necromancy punishes clustered enemies in places like the Goblin Camp, the Moonrise Towers approach, and late-game city fights where doorways, ladders, and elevation matter. It also pairs well with companions who want time and space: a ranged rogue, a storm sorcerer, or a martial frontliner all benefit when the necromancer forces enemies to waste actions on summons.
For role clarity, this is not the same as a generic wizard build. A control wizard wants spell efficiency and enemy denial. A necromancer wants sustained board presence. That distinction matters because you should value tools that create disposable units, extend fight length in your favor, and keep concentration intact. If you are looking for a class fantasy of dark magic with practical encounter power, this is the right lane.
Stat and Attribute Priorities
Your stat priority should favor spell reliability first, then concentration durability, then mobility or defensive insurance. Necromancy in BG3 is much more consistent when your casting stats support accurate control and your Constitution keeps your key buffs active through enemy pressure.
- Intelligence: This is your primary casting stat if you are running Wizard, and it directly improves the reliability of your spellcasting package. High Intelligence makes your save-based control matter more in fights like the Creche, Moonrise, and later Act 3 boss rooms where enemies resist sloppy setup.
- Constitution: Concentration is the real tax on a necromancer, because many of your best fight-warping tools depend on staying focused while the enemy tries to break you. More Constitution means better survival and fewer wasted turns after taking chip damage from archers, casters, or environmental hazards.
- Dexterity: Dexterity improves initiative and survivability, which matters a lot for a build that wants to act before enemies spread out. Going earlier means you can drop control, summon undead, or reposition before the fight becomes chaotic.
- Wisdom or Charisma utility: This is usually secondary, but it can help with dialogue checks or specific gear interactions depending on your party structure. It is not your core combat stat and should not take priority over casting consistency.
A practical point: necromancers are at their best when they enter combat already prepared. That means ability scores matter, but so do pre-fight habits. If you can act first in fights like the Shattered Sanctum or the rooftop sequences in Act 2, you turn the enemy’s opening into dead space. If you act late, your summons still help, but they are reacting instead of dictating the tempo.
| Priority | Stat | Why it matters | Recommended focus |
|---|---|---|---|
| 1 | Intelligence | Improves spell DC and overall casting output | Max this first |
| 2 | Constitution | Protects concentration and survivability | Keep high |
| 3 | Dexterity | Helps initiative and AC | Raise after core casting |
| 4 | Wisdom/Charisma | Mostly utility outside combat role | Optional |
If you are using a multiclass variant, the exact spread changes, but the principle does not: your necromancer needs spell save pressure, concentration stability, and enough initiative to establish the board before the enemy can answer. That is especially true in the current meta, where fights are often decided by who gets to shape the first round.
You might also like
- Baldur's Gate 3 baldurs gate 3 best honour mode builds
- Baldur's Gate 3 Solve the Open Hand Temple Murders: Beginner Guide
- Baldur's Gate 3 baldurs gate 3 best dual wield build
- Baldur's Gate 3 best multiclass builds
- Baldur's Gate 3 baldurs gate 3 best melee build
Recommended Skill Rotation and Ability Priority
Your ability priority should follow a simple combat script: pre-buff, open with control, deploy summons, then spend the rest of the fight converting enemy movement into waste. The build is strongest when you stop thinking in “damage rotation” terms and start thinking in “turn order management” terms.
- Before combat, summon or prep where possible: Use long-duration or pre-fight value when the game allows it. If you know a fight is coming in a narrow area like the Lower City streets or a fortress interior, enter with the field already partially occupied.
- Open with control rather than damage: Spells that force movement, deny areas, or punish grouping are better than a raw nuke when your undead need time to work.
Hold Person,Fear,Slow, and zone-based effects are excellent examples depending on your exact spell list and target type. - Drop your summon package early:
Animate Deadis the heart of the build. Use it as soon as you can make the extra bodies matter, ideally before the enemy has fully advanced. If you can create multiple undead over a sequence of fights, the pressure becomes overwhelming in extended adventuring days. - Spend turns preserving concentration and positioning: The build gets much weaker if your setup collapses. Reposition behind summons, use cover, and avoid overcommitting into melee unless your defensive tools are already online.
- Convert advantage into cleanup: Once the enemy is slowed, trapped, or forced into bad routes, use damage spells or cantrips to finish isolated targets while your undead absorb retaliation.
A useful way to think about the rotation is to split encounters into three phases. In the opening, you establish the board. In the middle, you maintain the board and stop the enemy from breaking through. In the end, you mop up with whatever spell slots remain. That is why necromancer gameplay feels different from a fire mage or lightning caster: your value compounds over several turns, and the right opening can make a fight feel unfair.
| Combat Phase | Best Action Types | Example Spells / Actions | Why this phase matters |
|---|---|---|---|
| Opening | Control, pre-buff, summon | Slow, Fear, Animate Dead |
Sets tempo and board presence |
| Midfight | Zone control, protection, reposition | Counterspell, Glyph of Warding, cover play |
Keeps concentration and denies enemy burst |
| Cleanup | Focus fire, cantrips, opportunistic damage | Fire Bolt, Ray of Frost, single-target spells |
Converts advantage into kills |
Two important examples help anchor the rotation in real play. In the Goblin Camp, a necromancer can open by controlling the bridge or doorway, then let undead bodies clog chokepoints while the rest of the party picks off isolated targets. In Act 2 moonlit encounters, the build gets value by forcing enemies to move through awkward terrain while your summons soak attacks and your control spells stop a clean counterattack. In both cases, your turn order matters more than your raw damage number.
Gear and Loadout
Your gear should support spell DC, concentration, and action economy before anything else, because a necromancer who loses concentration or gets pinned down is just a weaker wizard with theme coherence. The strongest loadout typically includes one item for spell power, one for survivability, and one for summoning or corpse interaction utility if available in your current act.
| Slot | Item | Reason |
|---|---|---|
| Weapon | Any staff or wand that boosts spellcasting | Keeps your spell progression and attack options flexible |
| Off-hand | Shield if your class setup allows it | Adds defense and helps you survive focus fire |
| Head | Spell DC or mental stat headgear | Improves control reliability and summoning support |
| Chest | Robe or armor that protects concentration | Lets you keep control spells active longer |
| Gloves | Utility gloves with caster benefits | Helps your turn economy or defenses |
| Boots | Mobility boots | Lets you reposition behind summons or cover |
| Amulet | Concentration or spellcasting amulet | Reduces the chance your setup gets broken |
| Ring 1 | Defensive or spell-enhancing ring | Improves consistency in long fights |
| Ring 2 | Utility ring | Supports initiative, defenses, or resource efficiency |
Because Baldur’s Gate 3 itemization is broad and act-gated, you should think in terms of functions rather than one mandatory unique. Early on, anything that improves your spell reliability and survivability is more valuable than a flashy but narrow piece. By midgame, you want equipment that supports your core loop: cast control, keep concentration, summon undead, and stay out of danger. By endgame, prioritize the best bonuses to your save DC, initiative, and defensive layers, because the hardest fights punish inconsistency.
Examples of useful item traits include gear that improves spell save DC in a general sense, items that protect against losing concentration when you take damage, and movement tools that help you escape melee engagement after you have committed your action. In fights against enemies like Ketheric Thorm’s forces, Gortash’s trap-heavy spaces, or Orin’s pressure-oriented encounters, that positioning value can matter more than a small offensive bump.
The build also benefits from consumables and scrolls more than many players expect. A necromancer can use scrolls to widen the spellbook without permanently spending preparation slots, which is especially useful when you need a single situational answer for a fight such as Counterspell, area control, or emergency escape. Potions that preserve concentration or restore action economy are also high value in hard encounters.
For the baldurs gate 3 best necromancer build, the practical gear rule is simple: if an item helps you act first, stay alive, or keep control online, it is almost always better than itemizing for marginal direct damage.
Budget vs Endgame Variant
Your budget version should focus on getting the necromancer engine online as early as possible, while the endgame version refines the same plan with better defenses, stronger spell reliability, and more efficient action sequencing. The core identity stays the same; what changes is how polished the execution becomes.
| Variant | What to Prioritize | Cheap Substitute | Endgame Upgrade |
|---|---|---|---|
| Budget starter | Basic Intelligence and survivability gear | Any caster staff, robe, or amulet with general spell utility | High-end caster gear with stronger save DC and defense |
| Midgame core | Summon access and control consistency | Scrolls, simple defensive accessories, generic mobility items | Gear that supports concentration and turn order |
| Endgame optimized | Maximum spell reliability and battlefield control | N/A | Best-in-slot caster pieces, better defensive layers, and utility slots that enhance tempo |
In a budget setup, you are mainly trying to avoid dead turns. That means using whatever early gear you find that improves casting stability, even if the bonuses are modest. A generic staff is fine. A simple robe is fine. An amulet that gives a minor spell benefit is fine. The point is to get through Act 1 and early Act 2 with enough consistency that your summon/control loop can carry the fight.
Good starter substitutions include inexpensive caster gear, any item that nudges your spellcasting stats in the right direction, and utility options that improve movement or survivability. If you do not yet have access to premium necromancer-flavored rewards, do not wait for them. The build does not require a unique named item to function; it requires a stable loop.
The endgame version is where the build starts to feel oppressive. Better defensive gear means fewer concentration losses. Better save DC gear means more enemies fail key control checks. Better mobility means you can keep your summoner alive while your undead and party members lock down space. At that point, encounters in Act 3 often become exercises in containment rather than survival.
A practical example: in early game fights such as the Nautiloid, Goblin Camp, or Underdark skirmishes, you mostly rely on basic control and any summon access you have. In late-game fights like the Lower City’s densest engagements, your optimized version leverages better gear to make your opening turn more decisive and your follow-up turns more stable.
Counters and Hard Matchups
The build is most vulnerable to burst damage, concentration disruption, and enemies that can ignore your summons or punish clumped positioning. That means the worst matchups are not always the biggest bosses; they are the fights that erase your setup before it pays off.
The most common counters are:
- Heavy focus fire on the caster: Archers, mages, and fast melee enemies can force concentration checks and break your setup if you stay exposed.
- Enemy crowd control and displacement: Prone, fear, stun, knockback, and terrain denial can keep you from maintaining the board.
- Anti-summon pressure through mobility: Enemies that jump past your undead and hit your backline reduce the value of your frontline bodies.
- Long-range area damage: If multiple enemies can chip you at once, your concentration and positioning become much harder to preserve.
- Fights with limited corpse access: Necromancy value is naturally lower when the encounter environment or pacing gives you fewer opportunities to convert bodies into value.
You adapt by changing your opening priorities, not by abandoning the build. Against archers and casters, hide behind terrain and spend early turns on defense and control rather than greedy summoning. Against mobile assassins or leap-heavy melee, place undead where they block pathways rather than where they merely add damage. Against enemies that punish clustering, spread your summons and avoid stacking them into one fireball-shaped problem.
Concrete examples matter here. In the Creche, hard-hitting enemies can punish a careless backline, so you want to stay behind cover and force them through your undead wall. In Moonrise Towers, ranged pressure and verticality make positioning far more important than raw summon count. In Act 3, boss arenas with moving hazards or sudden reinforcements can punish overcommitment, so you should reserve defensive spells and movement options for the moment your line starts to crack.
The tactical answer is usually one of three adjustments: move earlier, summon earlier, or control earlier. If the fight is tempo-sensitive, act first and do not hoard your best tools. If the arena is narrow, use undead to block movement. If the enemy has strong burst, invest in survival and accept a slower kill pace. That is how you keep the build consistent across the campaign instead of only making it work in favorable encounters.
Common Mistakes
The biggest mistakes with a necromancer build are usually about tempo, positioning, and resource greed rather than the class choice itself. Players often understand the theme but miss how BG3 actually rewards board control.
- Opening with damage instead of control: Players want to see immediate numbers, but that wastes the build’s strongest advantage. Use control or setup first, then damage once the enemy is constrained.
- Summoning too late: Waiting for the “perfect” turn often means your undead arrive after the fight’s outcome is already decided. Summon when the board state will actually benefit from extra bodies.
- Standing too close to the front line: Necromancer value collapses if the caster is taking every hit. Use cover, elevation, and body blocking to stay safe.
- Ignoring concentration protection: Players sometimes stack offense and then lose the whole plan to one arrow or spell. Prioritize Constitution, defensive gear, and cautious positioning.
- Overcommitting undead into bad terrain: A summon that cannot reach targets or gets trapped behind geometry is a wasted action. Place them where they can actually contest space.
- Saving every slot for later: BG3 punishes unused resources as much as bad resource use. If an encounter is already winning because of a good opening, spend your tools to end it cleanly.
- Treating all enemies the same: Skeletons, casters, elites, and bosses do not all need the same answer. Adjust whether you prioritize control, movement denial, or straight cleanup.
The fix is usually straightforward: play the first round like it matters more than the third, and build your line so the enemy has to fight through disposable bodies before they can touch you.
Pro Tips
Tip 1. Pre-position before trigger points
If you know a fight will start after dialogue, a door open, or a scripted advance, move your summons and caster position before committing. This is especially strong in encounters like Goblin Camp, Moonrise Towers, and other scripted arenas where the first round decides the pace.
Tip 2. Use summons to block movement, not just to attack
Undead are often more valuable when they occupy ladders, chokepoints, and narrow stairwells than when they swing for modest damage. A skeleton standing in a doorway can deny an entire enemy route.
Tip 3. Spend control on the enemy turn order, not just on threats
If a dangerous enemy is acting after your allies anyway, it may be better to control the unit that can actually swing momentum next. In practice, this means reading initiative and targeting the unit most likely to break your formation.
Tip 4. Keep one escape option in reserve
Do not spend every mobility tool on the opening turn if the arena can collapse later. A necromancer who can disengage from melee pressure, step behind cover, or reset distance keeps concentration alive much more reliably.
Tip 5. Convert scrolls into flexibility
A necromancer benefits a lot from situational scrolls because you are trying to cover multiple fight shapes without bloating your prepared list. Carry answers for emergency control, counterplay, and repositioning instead of overloading on the same effect.
Tip 6. Let enemies waste actions on summons
If a mob spends its turn killing a disposable undead instead of targeting your real damage dealers, that is a win even if the summon did little damage. In BG3, action denial is often stronger than raw DPS.
Tier Ranking
The necromancer build sits near the top of caster archetypes for encounter control and mid-to-late game scaling, especially when the player understands positioning and resource sequencing.
| Tier | Build Type | Why it ranks here |
|---|---|---|
| S | Necromancer Wizard | Best mix of summons, control, and board dominance |
| A | Control Wizard | Excellent at denying enemies, slightly less board pressure |
| A | Summon-focused hybrid | Strong bodies and utility, usually less consistent control |
| B | Pure damage caster | High burst, but less stable across long fights |
| B | Melee necromancy fantasy build | Fun thematically, but usually weaker than spell-first versions |
In the current meta, the necromancer’s biggest strength is that it scales through encounter shape rather than only through damage numbers. When fights reward spacing, chokepoints, and turn-order control, the build performs above what its raw stat sheet suggests. That is exactly why it is so effective in a game like Baldur’s Gate 3.
FAQ
What class is best for a necromancer in Baldur’s Gate 3?
Wizard is the most straightforward and usually the strongest class foundation because it gives you the best access to spell preparation, control tools, and undead-centric play patterns.
Is necromancer good in BG3 without min-maxing?
Yes. The build works even without perfect gear because undead bodies and control spells remain useful throughout the campaign.
Do I need special gear for this build?
No. Stronger gear improves consistency, but the build functions with generic caster items as long as you support Intelligence, concentration, and positioning.
Is necromancer better for solo or party play?
It works in both, but it is easier in a party because allies can hold the front line while you manage summons and control.
When does the necromancer build come online?
It becomes much stronger once you have reliable summon access and enough defensive tools to keep concentration active through enemy pressure.
Related Guides
- Baldur’s Gate 3 Wizard Build Guide
- Baldur’s Gate 3 Best Summoner Build
- Baldur’s Gate 3 Best Control Caster Build
- Baldur’s Gate 3 Best Dark Urge Build
- Baldur’s Gate 3 Best Solo Build
- Baldur’s Gate 3 Best Act 1 Build
- Baldur’s Gate 3 Best Act 3 Build
Sources
- https://store.steampowered.com/app/1086940/
- https://howlongtobeat.com/?q=bg3
- https://store.steampowered.com/app/1086940/
- https://www.protondb.com/app/1086940
- https://steamcommunity.com/stats/1086940/achievements
See also
- Baldur's Gate 3 Kill Raphael's Old Enemy Beginner Guide
- Baldur's Gate 3 baldurs gate 3 best karlach build
- Baldur's Gate 3 best monk build
- Baldur's Gate 3 best hexblade build: a complete BG3 guide
- Baldur's Gate 3 Investigate the Sel nite Resistance Beginner Guide
- Baldur's Gate 3 baldurs gate 3 best jaheira build
- Baldur's Gate 3 Best Healer Build
- Baldur's Gate 3 baldurs gate 3 best gale build
- Baldur's Gate 3 baldurs gate 3 best halsin build
- Baldur's Gate 3 baldurs gate 3 best cleric build
Screenshots



Reviewed by
BG3 Hub Editorial
Expertise: Editorial team behind BG3 Hub. Content is compiled from official patch notes, community wikis, and playthrough notes, then reviewed and updated on schedule.
Sources
Baldur's Gate 3 Classes Guides →
Browse the complete classes collection and its focused guides.
Related Guides

🔥 Popular Guides
baldurs gate 3 wizard builds: Best Wizard Build Guide
Best baldurs gate 3 wizard builds for control, damage, and defense, with stats, gear, rotation, counters, budget swaps, and tips.
baldurs gate 3 volk tier list: Best Builds Ranked for BG3
S, A, and B tier Baldur’s Gate 3 builds ranked with matchup notes, common mistakes, and Honour mode tips.
Baldur's Gate 3 Class Tier List
S, A, and B class rankings for BG3 with methodology, situational flips, patch notes, mistakes, pro tips, and FAQs.
Baldur's Gate 3 Ceremonial Practices for Initiate Umberlants
Book guide to Ceremonial Practices for Initiate Umberlants, including what it is, where to find it, and how it compares to ritual spells.
📋 Patch Notes & Updates
🛠️ Popular Tools
Frequently Asked Questions
Quick answers from the guide · click a question to expand.
What class is best for a necromancer in Baldur’s Gate 3?
Wizard is the most straightforward and usually the strongest class foundation because it gives you the best access to spell preparation, control tools, and undead-centric play patterns.
Is necromancer good in BG3 without min-maxing?
Yes. The build works even without perfect gear because undead bodies and control spells remain useful throughout the campaign.
Do I need special gear for this build?
No. Stronger gear improves consistency, but the build functions with generic caster items as long as you support Intelligence, concentration, and positioning.
Is necromancer better for solo or party play?
It works in both, but it is easier in a party because allies can hold the front line while you manage summons and control.
When does the necromancer build come online?
It becomes much stronger once you have reliable summon access and enough defensive tools to keep concentration active through enemy pressure.
Was this guide helpful?
Rate this guide so we can improve it.
Share your own tip
Found something not in the guide? Submit it below — our editors review every tip before publishing. No account required.