 Baldur's Gate 3
Baldur's Gate 3 best druid build
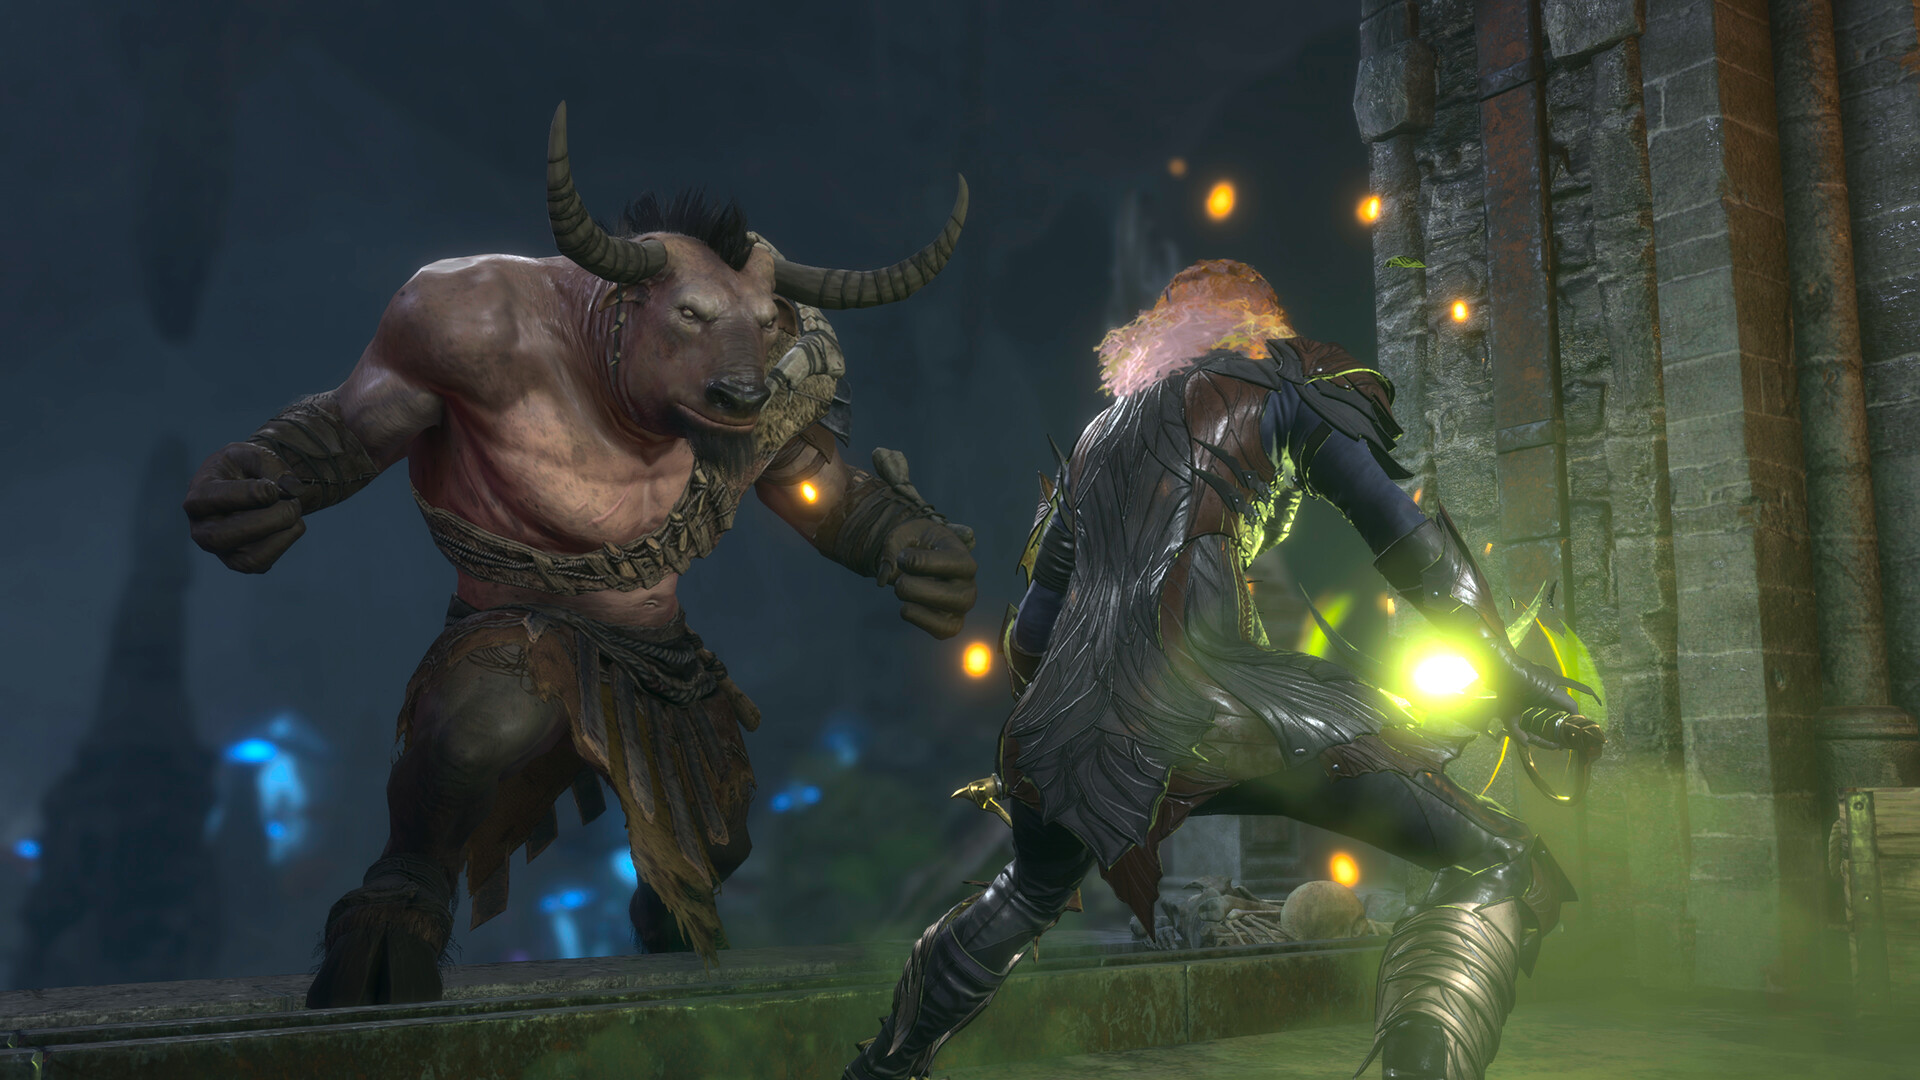
Quick Answer: The best Baldur’s Gate 3 druid build is usually a Circle of the Moon frontline shapeshifter or a flexible control-caster hybrid, depending on whether you want durability, summon pressure, or battlefield control.
Build Identity
The best druid build in Baldur’s Gate 3 is a frontline-control hybrid that uses Wild Shape for survivability and spellcasting for tempo control. It excels at occupying space, soaking pressure, and turning awkward fights into favorable ones with forms like Bear, Owlbear, and later Myrmidon options, while still keeping access to core druid utility such as Entangle, Spike Growth, Moonbeam, and Conjure Woodland Being.
For most players searching for the baldurs gate 3 best druid build, the cleanest answer is Circle of the Moon because it gives the strongest combat identity with the least setup tax. You can play it as a durable initiator, a summon support, or a self-sufficient bruiser depending on how you distribute your action economy. In practice, that means you can open with control, shift into form, and spend the rest of the fight forcing enemies to deal with your body instead of your backline.
BG3 supports this style well because it is a story-rich, party-based RPG where choices shape every fight and encounter flow Source. It is also a long-form game, with HowLongToBeat reporting roughly 72.71 hours for the main story and 179.74 hours for completion Source, so a build that remains useful from Act 1 through the endgame matters more than a narrow cheese setup. Druid fits that demand because it scales through form upgrades, concentration spells, and team utility instead of relying on one gimmick.
Build Identity and Role
The Circle of the Moon druid is a tanky controller that turns every encounter into a resource war in your favor. Its job is not to outburst a Sorcerer or out-frontload a Fighter; its job is to make enemy turns inefficient while preserving your own flexibility. In the current meta, that makes it one of the most reliable all-around classes for players who want both combat power and practical coverage.
This build works in three distinct ways depending on the encounter. In small fights, you can pre-cast a concentration spell like Entangle, Faerie Fire, or Spike Growth and then shift into a form that blocks movement and punishes retaliation. In medium fights, you play as a durable disruptor, using Bear or Owlbear-style forms to pin priority targets in place while your party cleans up. In longer boss encounters, you preserve spell slots for the right turn, then shift late and let Wild Shape absorb punishment after your control spell has already changed the fight geometry.
That flexibility is why druid remains a high-value pick across Acts 1, 2, and 3. Example fights like the Goblin Camp, the Shadow-Cursed Lands, and the House of Hope all reward a build that can adapt to line-of-sight, surface control, and target priority. A druid can open on terrain denial in a corridor, swap to a body form in a choke, or stay unshifted to support with summons and healing when the party needs more spell value than raw durability.
A practical way to think about the role is this: you are the class that can start a fight as a caster, become a bruiser, and still finish the fight as a control engine. That is more valuable than a pure damage plan in most BG3 party compositions because fights are usually decided by positioning, concentration, and whether you can deny enemy actions before they matter.
Tier Snapshot
| Variant | Tier in current meta | Main job | When it shines |
|---|---|---|---|
| Circle of the Moon | S | Frontline durability and flexible tempo control | General play, blind runs, Honour-style caution |
| Circle of the Land | A | Spellcasting, area denial, support utility | Parties that already have a tank |
| Spores Druid | A/B | Necrotic pressure and summon-oriented attrition | Longer fights, minion-heavy setups |
Circle of the Moon is the safest recommendation for the baldurs gate 3 best druid build because it has the least dependence on perfect gear and the most stable combat loop. Circle of the Land is stronger if you want to lean harder into spell slots and terrain control, while Spores is more specialized and rewards players who want a busy board-state playstyle.
Stat and Attribute Priorities
Wisdom is the primary stat for the best druid build because it drives spell save DC, spell attack rolls, and the reliability of your control package. Constitution comes next because concentration checks determine whether your best spells survive contact with enemy pressure. Dexterity is the third priority because initiative and armor class still matter when you are not shifted, especially in the first round before Wild Shape is online.
A druid build does not need Strength as a priority unless you are forcing a very specific equipment plan. Wild Shape forms use their own combat profile, so trying to stat for weapon damage is usually a trap. That is a common mistake among new players: they split their ability points between melee and casting, then end up mediocre in both roles. The cleaner solution is to commit to your spell DC and survivability, then let shapeshift forms handle physical presence.
Recommended priorities:
- Wisdom: This is the stat that makes Entangle, Hold Person if available through multiclassing or other effects, Moonbeam, and other control tools actually stick against tougher enemies like Githyanki, cultists, and late-game elites.
- Constitution: This keeps concentration intact when enemies focus you with ranged damage, AoE chip, or counter-pressure from bosses like the Apostle of Myrkul or Orin’s support pieces.
- Dexterity: This improves initiative and unshifted defense, which matters in Act 1 before your gear and form options stabilize.
- Intelligence and Charisma: These are lower priority for a standard druid, though dialogue-heavy runs may value Charisma if you are using party composition to cover checks elsewhere.
- Strength: This is usually dumpable for a Moon druid unless your gear plan specifically says otherwise.
A sample stat spread for point-buy style planning is to push Wisdom first, then Constitution, then Dexterity. If you are starting from a race or background that gives useful defensive or mobility features, that usually matters more than chasing a perfect ability score sheet. In BG3, encounter wins are usually about action economy and concentration uptime, not raw sheet efficiency.
You should also distinguish between pre-shift and post-shift priorities. Before Wild Shape, you want to survive long enough to establish control. After Wild Shape, your base stats matter less than the form’s profile, so the emphasis shifts toward timing, positioning, and whether your concentration spell is still active. That is why Constitution is so important: a druid who keeps Spike Growth or Moonbeam running while pressuring the front line is doing more work than a druid who wins initiative but loses concentration immediately.
You might also like
- Baldur's Gate 3 Solve the Open Hand Temple Murders: Beginner Guide
- Baldur's Gate 3 Kill Raphael's Old Enemy Beginner Guide
- Baldur's Gate 3 baldurs gate 3 best cleric build
- Baldur's Gate 3 baldurs gate 3 best barbarian build
- Baldur's Gate 3 Investigate the Sel nite Resistance Beginner Guide
Skill Rotation and Ability Priority
The druid rotation is about sequencing, not a fixed combo string. Your best turns depend on whether the enemy is mobile, clustered, flying, or already pressured, but the general priority is the same: establish control, then shift or summon, then spend later turns on repositioning and cleanup.
The cleanest ability priority looks like this:
- Open with a concentration spell if the fight will last more than one round. Good examples are Entangle in narrow terrain, Faerie Fire against evasive targets, and Spike Growth in choke points like stairways or doorways.
- Shift into Wild Shape if the enemy is likely to commit to you or if your party needs a body on the front line. Bear-like forms and later stronger forms are best when you need simple durability.
- Use mobility and body-blocking to deny enemy pathing. This matters in places like the Shattered Sanctum, Moonrise Towers, and endgame hallways where melee enemies want to reach your backline.
- Refresh control only when the board state changes. Do not overwrite a good Spike Growth just because a spell slot is available.
- Use healing and support spells when the party’s tempo is stable, not as a panic button that drains your action economy too early.
A druid’s best rotation changes by encounter type:
| Encounter type | Best opener | Follow-up | What to avoid |
|---|---|---|---|
| Tight corridors | Spike Growth | Wild Shape body-blocking | Running straight into open melee |
| Dense enemy packs | Faerie Fire or Entangle | Area pressure and summons | Splitting focus too early |
| Boss fights | Pre-cast control or summon | Shift after threat is committed | Spending all slots on healing |
| Anti-melee arenas | Moonbeam or terrain denial | Reposition and force movement | Chasing targets into bad spacing |
In Act 1, fights like the goblin assault or crypt encounters reward simple control plus a durable form. In Act 2, enemies with darkness, fear, or high ground punish careless positioning, so you need to respect line of sight and use the map rather than raw stats. In Act 3, many fights become more scripted and more punishing, which makes pre-planned spell order more important than improvising after the first turn collapses.
The important thing is not to think of druid as a one-button build. The class is at its best when you treat each action as a tempo decision. Ask whether the next action denies damage, preserves concentration, or forces the enemy into an inefficient response. If the answer is no, you are probably spending a turn too early.
Gear and Loadout
The best druid gear is whatever improves concentration, survivability, and spell quality without forcing you out of your core identity. Druids do not need a fully unique legendary chain to function, but they do benefit a lot from equipment that supports caster durability before shifting and utility after shifting. Because Wild Shape can change how some item effects interact, you should think of gear in two categories: pre-shift power and always-on value.
The following table focuses on practical loadout direction rather than pretending there is one universally correct best-in-slot list for every run. BG3 has enough quest variance, party overlap, and Act-based availability that a good druid build should have substitutes ready.
| Slot | Item | Reason |
|---|---|---|
| Weapon | Any staff with spellcasting utility | Keeps your pre-shift turns relevant and often supports spell DC or defensive play |
| Off-hand | Shield, if your setup allows it | Improves survivability before shifting and helps you survive early focus fire |
| Armor | Medium armor that preserves mobility or caster value | Better than overcommitting to damage gear you cannot fully use |
| Head | Item that boosts spell DC or concentration stability | Makes your control spells more reliable against resistant enemies |
| Gloves | Defensive or caster-oriented gloves | Flexible slot; use for survivability, mobility, or utility rather than vanity damage |
| Boots | Mobility boots | Positioning is a core part of druid play, especially in corridor fights |
| Cloak | Defensive cloak or stealth utility | Helps you survive the window before you shift or reposition |
| Amulet | Concentration or healing-support amulet | Best if it improves spell uptime or emergency recovery |
| Ring 1 | General caster utility | Anything that increases spell reliability, resource efficiency, or defense |
| Ring 2 | General caster utility | Prioritize value over niche damage bonuses |
| Consumable | Elixirs, scrolls, and support potions | These let a druid cover gaps without changing the core build |
For Moon druids specifically, the best loadout philosophy is simple: gear that matters before you shift is better than gear that only looks good on the sheet. If an item stops helping once you use Wild Shape, it should be earning its slot by making the transition safer or the opening turn stronger. That is why mobility, concentration, and defensive passives usually outrank raw weapon damage.
Examples of useful gear logic include carrying a staff for the opening round, then shifting once control is established; using a shield when you expect to eat ranged focus in the first round; and favoring medium armor when your plan includes casting before transformation rather than rushing every combat into form on turn one. The same principle applies in boss fights against enemies like Ketheric Thorm or Raphael-style pressure setups: if your opening round survives, your build does its job.
If you are playing a more spell-forward Land druid, you can lean harder into itemized caster bonuses and treat Wild Shape as a fallback. If you are playing a more aggressive Moon druid, your gear should mostly exist to make the first round clean and the transition safe. That distinction matters more than chasing a single fashionable item list.
Budget vs Endgame Variant
The budget version of the best druid build is a straightforward control-and-shift setup that works with early Act 1 gear and basic spells, while the endgame version layers in stronger forms, better concentration support, and more reliable combat tempo. This is one of the reasons druid is such a strong recommendation: it functions well before the gear ceiling and scales naturally into late-game encounters.
A budget druid should prioritize the following:
- Simple control spells like Entangle, Faerie Fire, and Healing Word.
- Early Wild Shape forms for durability rather than damage optimization.
- Defensive armor and mobility gear over niche stat boosters.
- Consumables like potions and scrolls to cover weak openings.
- Party support from companions who can handle burst damage or ranged cleanup.
A budget setup works especially well in Act 1 areas such as the Ruins, the Goblin Camp, and the Underdark, where terrain and enemy clustering make basic control highly effective. You do not need perfect gear to get value because the enemies themselves often commit into choke points, ladders, and cramped rooms.
The endgame variant shifts the emphasis upward:
- Stronger shapeshift forms for better frontline presence.
- Better concentration support so your key control spell survives boss attention.
- Higher initiative and defensive utility so you can act before the battlefield is already lost.
- More deliberate spell selection, including summons where they fit the encounter.
- More punishing use of terrain, especially in fights where movement denial is worth more than direct damage.
Budget vs Endgame Comparison
| Category | Budget version | Endgame version |
|---|---|---|
| Main goal | Survive and control early fights | Anchor the frontline and dictate tempo |
| Spell emphasis | Cheap control and sustain | Stronger control, summons, and tempo tools |
| Gear priority | Defensive basics and mobility | Concentration, survivability, and high-value utility |
| Wild Shape use | Safe frontline swapping | Fight-defining pressure and cleanup |
| Party role | Flexible support tank | Primary disruptor or secondary anchor |
The strongest endgame druid gameplay often comes from understanding when not to shift. If a fight rewards sustained casting and movement denial more than raw body pressure, stay in caster mode until the board is favorable. That is a subtle but important point: the best druid build is not “always shapeshift.” It is “shift when the form is the best use of the turn.”
Counters and Hard Matchups
The druid’s hardest counters are high burst focus, concentration disruption, and enemies that punish slow setup. If the opponent can force you to spend your first turn reacting instead of establishing control, the build loses some of its edge. That does not make druid weak; it means you need to respect the matchups that compress your decision window.
The most common problems are:
- Heavy ranged focus that breaks concentration before your control spell pays off.
- Enemies with strong mobility that ignore terrain denial.
- Multiple casters or sharpshooters that punish pre-shift positioning.
- Fights where your party spreads out and your area control loses value.
- Enemies that force you to spend resources on recovery instead of tempo.
Examples include late-game fights where enemies can jump, teleport, or hard-commit onto your backline, as well as encounters in open arenas where Spike Growth and other choke-based tools are less efficient. Specific situations like the House of Hope-style pressure, Githyanki mobility, or boss arenas with layered threats make it clear that druid needs adaptation, not autopilot.
The fix is to change how you enter the fight:
- Use terrain first when the map supports it. Staircases, doors, narrow bridges, and loot-room corridors are where druid becomes oppressive.
- Hold a defensive concentration spell until the enemy has shown commitment. If you cast too early, you invite focus fire before value.
- Shift only when the form will actually absorb damage or block movement. A wasted Wild Shape is just a delayed loss.
- Pair the druid with party members who can exploit denied movement. Martial burst, ranged finishers, and summon pressure all improve your conversion rate.
- In open fights, favor utility and repositioning over trying to force a corridor-style game.
The main lesson is that druid is strongest when the player is disciplined about timing. If you treat every encounter as “cast, shift, profit,” you will walk into the exact matchups that punish the build. If you instead evaluate whether the enemy can break your concentration, bypass your terrain, or outpace your form, you can adapt and keep the build near top-tier performance.
Common Mistakes
The most common druid mistakes come from overcommitting to Wild Shape, underestimating concentration, and building for the wrong kind of damage. These errors are common because the class looks simple on the surface: turn into a beast, hit things, repeat. In practice, the class rewards better sequencing than that.
- Shifting too early every fight: Players do this because Wild Shape feels like the class identity, but it wastes strong opening spells; fix it by casting control first when the fight has terrain value or multiple enemies.
- Ignoring Constitution: Players chase Wisdom only and then lose concentration on the first hit; fix it by raising Constitution enough that your control spells survive routine pressure.
- Standing in open ground: Players assume durability solves positioning, but ranged enemies and casters punish exposed angles; fix it by fighting near doorways, stairs, walls, and other movement-denial terrain.
- Using the wrong concentration spell: Players memorize one favorite spell and force it everywhere; fix it by picking Entangle, Faerie Fire, or Spike Growth based on map shape and enemy mobility.
- Treating gear like a martial build: Players load up on weapon damage items that stop mattering after the shift; fix it by prioritizing pre-shift survivability, spell utility, and concentration support.
- Wasting summons or support tools too late: Players save everything for a perfect moment that never arrives; fix it by using summons or utility when they will alter enemy targeting, not after allies are already losing.
Pro Tips
The best druid players think in terms of board control, not just personal durability. These tips are for players who already understand the class basics and want higher conversion from their turns.
Tip 1. Pre-cast for the map, not the enemy
If the fight starts in a doorway, on a bridge, or at the top of stairs, open with terrain control before committing to Wild Shape. Spike Growth in a narrow hallway or Entangle on a choke point often does more than an early attack roll ever will.
Tip 2. Let enemies spend movement badly
When an enemy has to walk through bad terrain to reach you, you are winning even if your damage number is low. This is especially strong in clustered fights where melee enemies line up behind each other and lose tempo trying to reach the front.
Tip 3. Shift after the first enemy commitment
A lot of players shift too soon. Wait until the enemy has used their opener or exposed their approach, then use Wild Shape to absorb the part of the fight where your party would otherwise be pressured.
Tip 4. Use concentration like a resource gate
If you already have a control spell online, do not replace it unless the board changes materially. A preserved Spike Growth or Moonbeam can carry more damage and denial than a fresh cast that restarts the clock.
Tip 5. Save utility for scripted danger
When a fight has predictable burst windows, keep support tools ready for that window rather than spending them on trivial damage. This matters in boss fights where the first clean round often decides the shape of the whole encounter.
Tip 6. Match form to threat type
Use a sturdier form when the enemy wants to brawl, and favor control or repositioning when the enemy is mobile or ranged. The value of a shape is not its name; it is whether it answers the threat in front of you.
FAQ
Is Circle of the Moon the best druid subclass in BG3?
Yes, for most players it is the strongest all-around choice because it gives the cleanest blend of durability, tempo control, and low-setup combat power.
Can a druid solo Baldur’s Gate 3?
A druid can solo large portions of the game, but the class performs best when it can exploit terrain, summons, and party pressure rather than trying to brute-force every encounter alone.
Do druids need high Dexterity?
They do not need it as the primary stat, but Dexterity still matters for initiative and unshifted defense, so it remains a useful secondary priority.
Is Wild Shape better than casting spells?
Neither is universally better. Wild Shape is stronger when you need a body on the front line, while casting is stronger when the map rewards control and concentration uptime.
What is the easiest druid build for new players?
A Circle of the Moon control-first build is the easiest because it forgives mistakes, stays useful across the whole game, and does not rely on advanced resource routing.
Related Guides
- Best BG3 Moon Druid Build
- Best BG3 Land Druid Build
- Best BG3 Ranger Build
- Best BG3 Cleric Build
- Best BG3 Wild Shape Guide
- BG3 Honour Mode Class Tier List
- BG3 Best Beginner Builds
Sources
- https://store.steampowered.com/app/1086940/
- https://howlongtobeat.com/?q=bg3
- https://api.steambase.io/games/1086940
- https://www.protondb.com/app/1086940
- https://steamhunters.com/apps/1086940
- https://steamspy.com/app/1086940
- https://steamcommunity.com/stats/1086940/achievements
- https://en.wikipedia.org/wiki/Baldur's_Gate_3
- https://www.cheapshark.com/redirect?dealID=KR6JzYIE5jQz4X%2FqfqZL7uqeWAALnY%2Beipr2lwHIFGI%3D
See also
- Baldur’s Gate 3 Best Astarion Build Guide
- Baldur's Gate 3 Save the Grymforge Gnomes Beginner Guide
- Baldur's Gate 3 Steal a Githyanki Egg Beginner Guide
- Baldur's Gate 3 Best Archer Build
- Baldur's Gate 3 Investigate the Suspicious Toys Beginner Guide
- Baldur's Gate 3 Rescue the Trapped Man Beginner Guide
- Baldur’s Gate 3 How to Steal the Sacred Idol: Beginner Guide
- Baldur's Gate 3 Gloves of Soul Catching Beginner Guide
- Baldur's Gate 3 The Blood of Lathander Beginner Guide
- Baldur's Gate 3 Find the Missing Shipment Beginner Guide
Screenshots



Reviewed by
BG3 Hub Editorial
Expertise: Editorial team behind BG3 Hub. Content is compiled from official patch notes, community wikis, and playthrough notes, then reviewed and updated on schedule.
Sources
Baldur's Gate 3 Classes Guides →
Browse the complete classes collection and its focused guides.
Related Guides

🔥 Popular Guides
baldurs gate 3 wizard builds: Best Wizard Build Guide
Best baldurs gate 3 wizard builds for control, damage, and defense, with stats, gear, rotation, counters, budget swaps, and tips.
baldurs gate 3 volk tier list: Best Builds Ranked for BG3
S, A, and B tier Baldur’s Gate 3 builds ranked with matchup notes, common mistakes, and Honour mode tips.
Baldur's Gate 3 Class Tier List
S, A, and B class rankings for BG3 with methodology, situational flips, patch notes, mistakes, pro tips, and FAQs.
Baldur's Gate 3 Ceremonial Practices for Initiate Umberlants
Book guide to Ceremonial Practices for Initiate Umberlants, including what it is, where to find it, and how it compares to ritual spells.
📋 Patch Notes & Updates
🛠️ Popular Tools
Frequently Asked Questions
Quick answers from the guide · click a question to expand.
Is Circle of the Moon the best druid subclass in BG3?
Yes, for most players it is the strongest all-around choice because it gives the cleanest blend of durability, tempo control, and low-setup combat power.
Can a druid solo Baldur’s Gate 3?
A druid can solo large portions of the game, but the class performs best when it can exploit terrain, summons, and party pressure rather than trying to brute-force every encounter alone.
Do druids need high Dexterity?
They do not need it as the primary stat, but Dexterity still matters for initiative and unshifted defense, so it remains a useful secondary priority.
Is Wild Shape better than casting spells?
Neither is universally better. Wild Shape is stronger when you need a body on the front line, while casting is stronger when the map rewards control and concentration uptime.
What is the easiest druid build for new players?
A Circle of the Moon control-first build is the easiest because it forgives mistakes, stays useful across the whole game, and does not rely on advanced resource routing.
Was this guide helpful?
Rate this guide so we can improve it.
Share your own tip
Found something not in the guide? Submit it below — our editors review every tip before publishing. No account required.