 Baldur's Gate 3
Baldur's Gate 3 baldurs gate 3 best honour mode builds
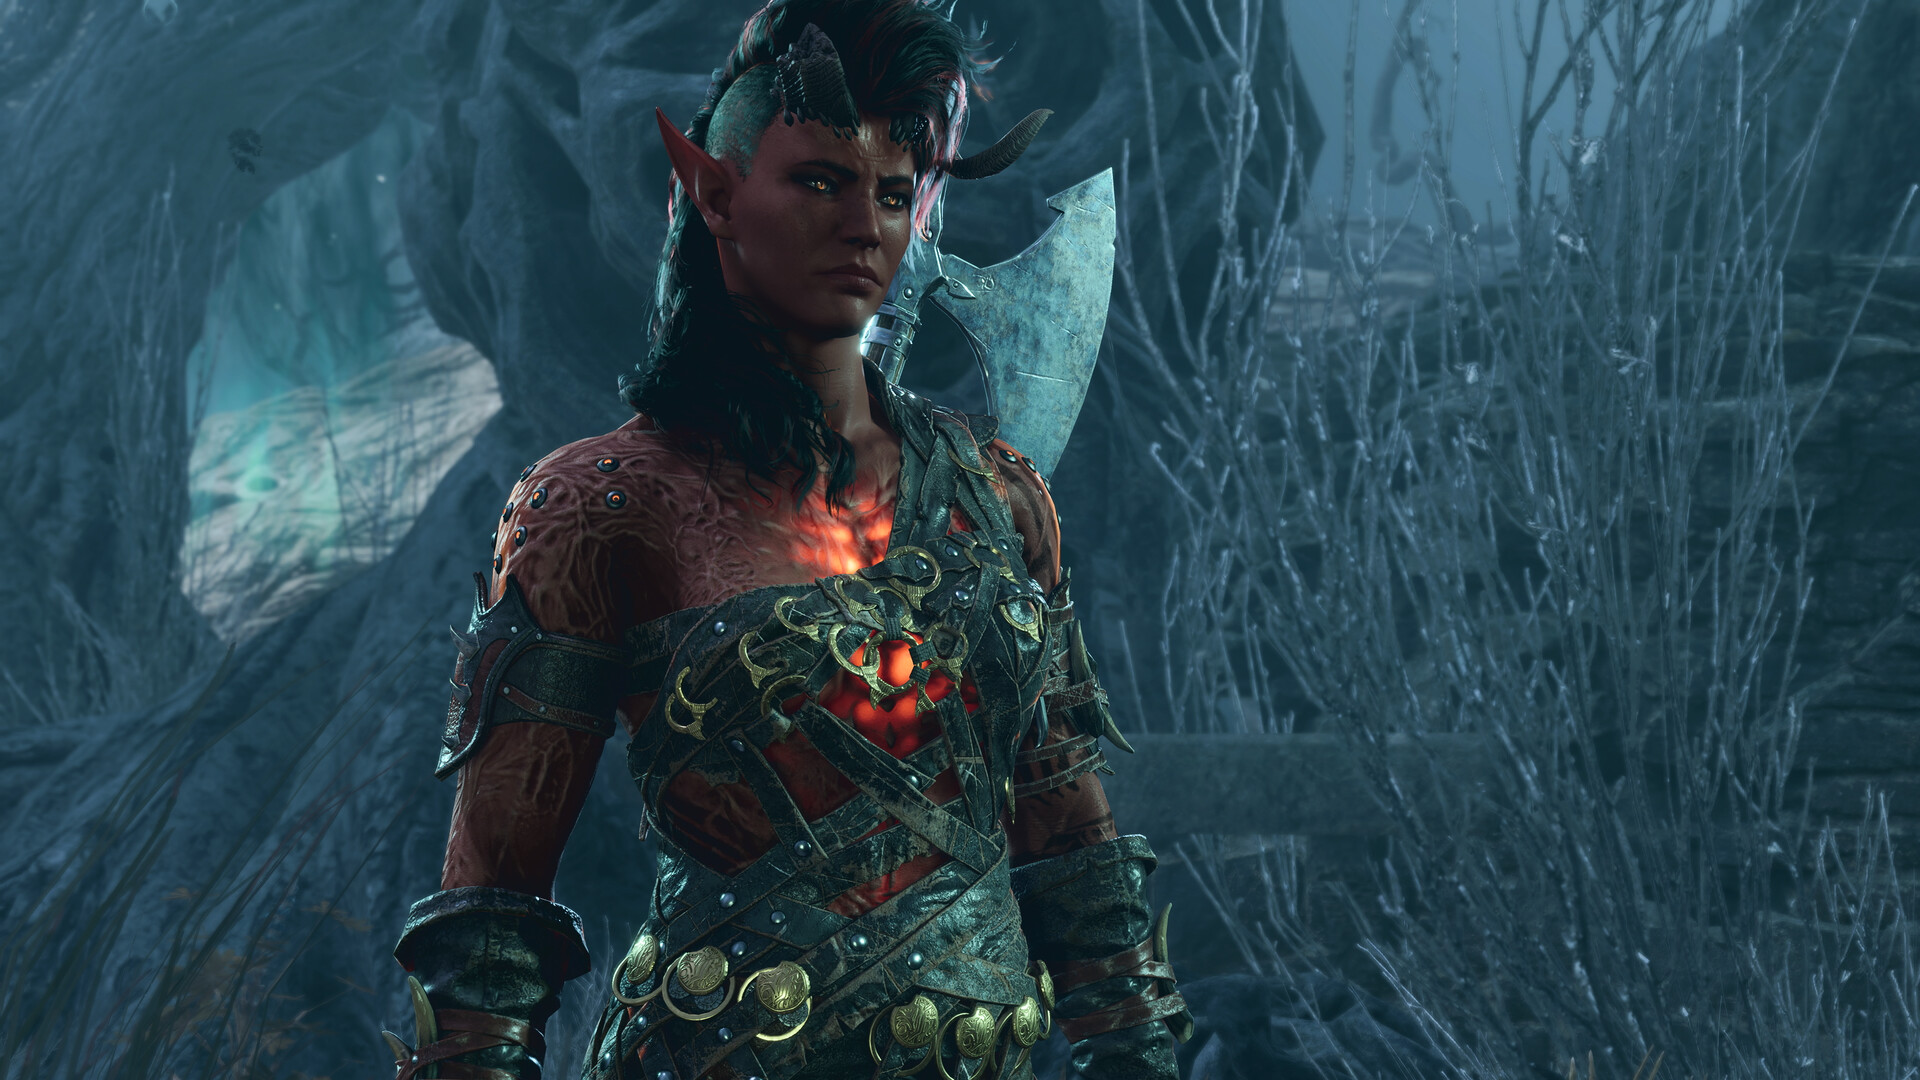
Quick Answer: The best honour mode builds in Baldur's Gate 3 are the ones that combine reliable first-turn control, strong defenses, and low-resource damage, with classes like Open Hand Monk, Throwing Barbarian, Gloom Stalker Ranger, and Sorcerer leading the current meta.
Baldur’s Gate 3 is a story-rich, party-based RPG where your choices shape a tale of fellowship, betrayal, survival, and sacrifice, and that structure is exactly why Honour Mode rewards consistency over flashy peaks. The game launched on Windows on August 3, 2023, later reaching PlayStation 5, macOS, and Xbox Series X/S in the same year Source, and it remains a long-form RPG with HowLongToBeat listing roughly 72.71 hours for the main story, 115.69 hours with extras, and 179.74 hours for completion Source. That matters because Honour Mode punishes greedy choices across a very long campaign, especially when the party is up against high-risk fights like the Goblin leaders, Ketheric Thorm, Cazador, Orin, and the final Netherbrain sequence.
Build Identity
The safest answer for the baldurs gate 3 best honour mode builds is a build that wins before enemies get to execute their plan. Honour Mode is not about parsing the highest possible damage in a vacuum; it is about controlling initiative, denying enemy turns, and surviving bad dice in encounters such as the Gnoll ambush in Act 1, the githyanki pressure at the Crche, and the multi-phase fights in Act 3. For that reason, the strongest Honour Mode archetypes are typically classes or multiclasses that do at least two of the following well: act early, disable threats, burst priority targets, or stay functional when resource-starved.
The build profile this guide centers on is a flexible frontline striker with explosive opening turns and enough defense to recover from a mistake. In practice, that means a character that can jump into combat, kill a dangerous target fast, then remain useful without burning every spell slot or consumable. Open Hand Monk, Throwing Barbarian, Gloom Stalker Ranger, and Sorcerer-based burst builds all fit this philosophy in different ways. Open Hand Monk can delete single targets while remaining mobile. Throwing Barbarian turns weapon access into extreme early-game reliability. Gloom Stalker Ranger frontloads damage and initiative pressure, which is especially valuable against enemies like Minthara, Balthazar, and the Steel Watch. Sorcerer gives battle-winning control when a fight needs to be reshaped instead of merely sped up.
A good Honour Mode build also needs redundancy. You want at least one of these: a backup ranged option, a defensive reaction, a mobility tool, or a spell that still matters when your main plan is disrupted. Examples include Misty Step for repositioning during the Myrkul fight, Command or Hold Person for humanoids like Marcus or Orin, and Tavern Brawler-style throw setups for fights where melee positioning is dangerous. That is why “best” in Honour Mode often means “least likely to fail across many situations,” not “highest ceiling in a scripted showcase.” If you want a build that survives bad terrain, bad rolls, and bad positioning, prioritize a plan that works in the Goblin Camp, Moonrise Towers, and the House of Hope without needing a perfect setup every time.
Tier Ranking
The strongest Honour Mode builds are the ones that combine encounter control, initiative, and low dependence on long-rest resources.
| Tier | Build | Why it ranks here | Best use case |
|---|---|---|---|
| S | Open Hand Monk | Reliable damage, mobility, and control in one package | Solo threats, boss cleanup, slippery targets |
| S | Throwing Barbarian | Early-game dominance with excellent consistency | Act 1 and Act 2 fights, armored targets |
| S | Gloom Stalker Ranger | Exceptional opener and initiative pressure | Ambushes, ranged priority kills |
| A | Sorcerer | Fight-swinging control and burst | Encounters where one spell decides the fight |
| A | Bard | Strong control, utility, and party support | Balanced parties, dialogue-heavy runs |
| A | Battle Master Fighter | Simple, stable, and hard to break | Players who want dependable combat lines |
| B | Paladin | High burst but more setup-dependent | Short fights and smite bursts |
| B | Warlock | Good output, but narrower than top-tier picks | Sustained ranged pressure |
| B | Cleric | Extremely useful support, lower solo kill speed | Safer parties and attrition-heavy content |
The S-tier entries are not there because they trivialize every room automatically. They are there because they keep functioning when the game stops cooperating. Open Hand Monk can still contribute after the first round if the fight drags on. Throwing Barbarian does not care much about scarce ammunition or weapon durability. Gloom Stalker Ranger often secures the first kill before the enemy team can exploit terrain or action economy. Sorcerer is the emergency brake for bad encounters, especially with control spells like Hypnotic Pattern or single-target lockdown against dangerous elite enemies.
A tier is still very strong, but these builds need a clearer plan. Bard can be one of the best Honour Mode party anchors because it smooths dialogue and combat, yet it depends more on build choices and spell selection. Battle Master Fighter is brutally dependable and easy to pilot, but it does not reshape fights the way the top tier can. Paladin can erase priority targets, though it is more sensitive to positioning, resources, and whether the target survives long enough to matter. In Honour Mode, that extra sensitivity matters.
You might also like
- Baldur's Gate 3 baldurs gate 3 best dual wield build
- Baldur's Gate 3 Solve the Open Hand Temple Murders: Beginner Guide
- Baldur's Gate 3 best hexblade build: a complete BG3 guide
- Baldur's Gate 3 Kill Raphael's Old Enemy Beginner Guide
- Baldur's Gate 3 Best Healer Build
Stat Priorities
The best stat priorities for Honour Mode are the ones that support initiative, accuracy, and survival before they chase damage. The exact order depends on class, but the logic stays the same: make the build act early, land its core actions, and avoid losing turns to poor defenses. For example, a Monk cares about Dexterity, Wisdom, and Constitution in that order because it needs attack accuracy, Class DC-style value, and durability. A Throwing Barbarian can prioritize Strength, Constitution, and Dexterity if it is built around throwing weapons and durability. A Sorcerer wants Charisma first, then Constitution, then Dexterity for concentration stability and survivability.
| Priority | What it supports | Why it matters in Honour Mode | Example classes |
|---|---|---|---|
| 1 | Main attack stat | Improves hit rate and core scaling | Strength, Dexterity, Charisma |
| 2 | Constitution | Helps survive burst and concentration loss | Sorcerer, Cleric, Bard |
| 3 | Initiative or secondary defense | Lets you move first and avoid collapse | Dexterity-heavy builds |
| 4 | Class-specific utility stat | Supports control, healing, or Monk scaling | Wisdom, Intelligence |
| 5 | Flavor or roleplay stat | Lowest combat impact for this mode | Everything else |
For Open Hand Monk, the ordered priority is usually Dexterity, Wisdom, Constitution, then everything else. That spread supports unarmed offense, AC, and enough durability to stay standing during fights like the Creche ambushes or the final Ketheric transition. For Throwing Barbarian, Strength is the headline stat, but Constitution is a close second because you are often operating in the middle of the fight, taking pressure from enemies like goblins, cultists, and duergar. Dexterity remains useful because many Honour Mode deaths begin with being out-rolled on initiative and failing to reposition.
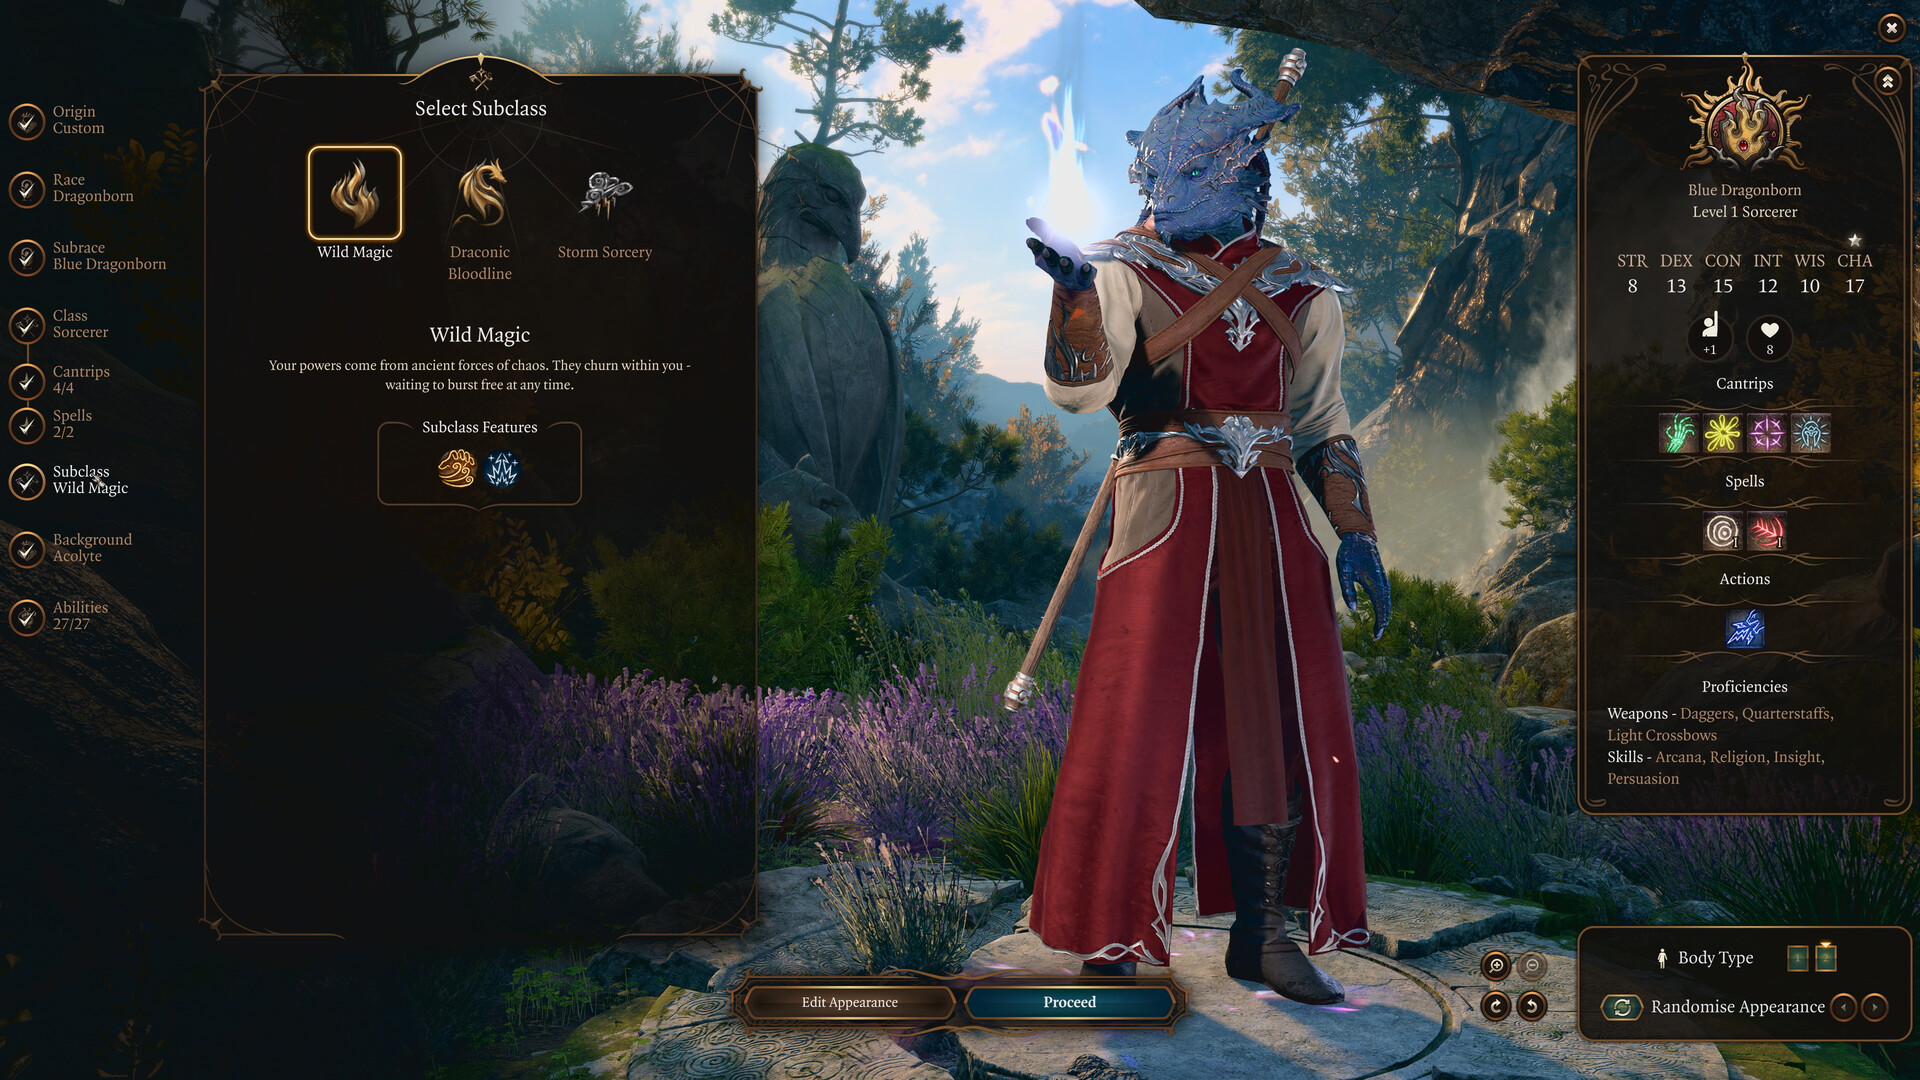
For Sorcerer or Bard, Charisma is the primary stat because your best turns are spell turns. Constitution matters because dropping Concentration on a key spell can lose a fight, and Dexterity helps with initiative and AC. That is relevant in fights like Marcus at Last Light Inn, where the difference between moving first and reacting late can decide whether important NPCs live. Intelligence is usually the least urgent combat stat for most Honour Mode carries unless you are deliberately building around scrolls, specific multiclass interactions, or utility casting. In short, optimize for the stat that makes your build work every turn, then protect that plan with Constitution and initiative support.
Skill Rotation and Ability Priority
The best Honour Mode rotation is the one that frontloads control, preserves movement, and spends resources only when the fight requires it. Because Baldur’s Gate 3 is turn-based, “rotation” in this context means the order in which you open combat, select targets, and choose whether to save or spend high-value abilities. A strong default pattern is: secure positioning, remove the most dangerous enemy, then use control or defense to prevent retaliation. That is true whether you are fighting the True Soul Gut in Act 1, Myrkul in Act 2, or a late-game enemy with multiple support pieces.
| Situation | Priority action | Backup action | Why this order works |
|---|---|---|---|
| First contact | Start from stealth or high ground | Enter via long-range opener | Improves initiative and target selection |
| Dangerous caster present | Focus-cast or burst the caster | Apply control or silence equivalent | Prevents area damage and summons |
| Melee swarm | Break the front line | Create space with mobility | Reduces action economy against your party |
| Boss fight | Remove adds first if they enable the boss | Lock down boss with CC | Prevents escalation from support enemies |
| Low-resource turn | Use at-will attacks or short-rest tools | Reposition and defend | Preserves long-rest economy |
For Open Hand Monk, the priority is usually: enter from stealth or high ground if possible, disable the key target, then use Flurry of Blows or similar multi-hit pressure to finish. In real encounters, that means rushing down a Mind Flayer Colony target, punching through cultist support in Moonrise Towers, or deleting a dangerous archer before it can act. For Throwing Barbarian, the sequence is simpler: Rage, throw, throw again, and use movement to keep line of sight open. In the Underdark or the Shadow-Cursed Lands, this is often enough to dismantle encounters that would be messy for slower melee builds.
Sorcerer and Bard demand more judgment. A good Sorcerer turn against a pack of enemies may open with a fight-winning control spell rather than damage. Against examples like the githyanki patrol, a well-placed area control spell can do more work than a direct damage line. Bard usually wants to answer with control, debuffing, or utility, then use damage only when the battlefield is already stable. The key Honour Mode habit is to ask, “What action prevents the enemy from getting value next turn?” rather than “What action has the biggest tooltip?” That shift is what separates reliable Honour Mode clears from explosive but unstable runs.
Gear and Loadout
The best Honour Mode gear is the gear that makes your core turn more consistent, not the gear that only looks impressive on paper. You should value initiative, mobility, damage consistency, and survivability above novelty effects that require perfect conditions. Early in the game, that often means ordinary-looking weapons and armor that support your stat spread. By Act 2 and Act 3, the priority shifts toward items that sharpen your plan, such as mobility tools, defensive accessories, and weapons that reward your action economy. Examples include returning weapons for Throwing Barbarian, unarmed enhancers for Monk, and spell DC or concentration support for casters.
| Slot | Item | Reason |
|---|---|---|
| Weapon | Returning Pike | Strong early option for throwing builds because it keeps your action economy intact |
| Weapon | Titanstring Bow | Excellent for characters that can stack Strength alongside ranged pressure |
| Weapon | Club of Hill Giant Strength | Helps stat-starved melee or hybrid builds hit harder early |
| Armor | Medium or light armor with strong AC | Keeps initiative-friendly builds alive without overcommitting to heavy armor |
| Gloves | Gloves that boost unarmed or throwing damage | Directly supports Monk and throw-based plans |
| Boots | Mobility boots | Repositioning is often worth more than a small damage gain |
| Amulet | Defensive or utility amulets | Helps survive surprise rounds and concentration checks |
| Ring | Accuracy or initiative ring | Improves the consistency of your first meaningful turn |
For Open Hand Monk, gear should reinforce what the class already does well: move, strike, and stay hard to pin down. Unarmed damage boosters, movement-friendly boots, and defensive accessories are the backbone. Examples of good item categories include gloves that raise unarmed damage, jewelry that improves survival, and armor choices that do not sabotage mobility. In fights like the Orthon encounter or late Act 3 duels, that mobility often matters more than raw damage because it lets you choose your engagement line.
For Throwing Barbarian, the loadout should focus on repeatable throw targets and weapons that do not leave you stranded when the first throw lands. Early examples include the Returning Pike and other reliable throwable gear, while later upgrades should support stronger damage and accuracy. If you are carrying into fights like the spider matriarch, the gnoll pack, or a steel-heavy Act 3 encounter, the best item is often the one that lets you continue throwing without pausing to recover a weapon. For Sorcerer or Bard, look for items that improve spell save DC, concentration, and initiative. That matters in encounters such as the House of Grief and the Cazador fight, where one failed control sequence can snowball into disaster.
Budget vs Endgame Variant
The budget version of an Honour Mode build should solve the first three acts without requiring rare gear, while the endgame version should convert the same core plan into a cleaner, more explosive late-game setup. That distinction matters because Honour Mode does not start at Act 3. You need a build that is good enough in the Nautiloid, the Goblin Camp, the Underdark, and Moonrise Towers before it ever gets to its final form. The strongest builds are therefore not just powerful at level cap; they are good from the moment they come online.
| Version | What it uses | Strengths | Weaknesses |
|---|---|---|---|
| Budget starter | Basic class kit, common weapons, simple defensive gear | Easy to assemble, stable in Act 1 | Lower burst and less room for error |
| Midgame bridge | One or two defining items and a clearer stat focus | Better consistency in Act 2 | May still lack best-in-slot power spikes |
| Endgame variant | Signature weapons, optimized accessories, finalized multiclass path | Highest reliability and damage | Requires more planning and item knowledge |
A budget Open Hand Monk can run on straightforward unarmed attacks, mobility, and whatever defensive gear you can reliably obtain in Act 1. It does not need rare equipment to be useful against goblins, gnolls, or early bosses. A budget Throwing Barbarian can function with any decent throwable weapon and a durable armor plan, then later transition into returning weapon setups and damage-boosting accessories. A budget Sorcerer can lean on generic control spells, cantrips, and positioning before acquiring the best concentration and DC support items. In other words, the starter version should be more about reliable execution than perfect numbers.
The endgame version should only change the build where the game gives you obvious payoff. If your build is Monk, that usually means better unarmed support and more efficient movement. If it is Throwing Barbarian, it means stronger throw loops and fewer turn losses from weapon recovery. If it is Sorcerer, it means better spell DC, safer concentration, and stronger encounter-defining spells. In Honour Mode, the goal is not to chase every possible upgrade immediately. The goal is to make each stage of the run easier than the last without ever depending on a single item or one perfect roll to keep the build alive.
Counters and Hard Matchups
The hardest matchups for Honour Mode builds are the ones that attack initiative, positioning, concentration, or action economy. A build can look flawless in a vacuum and still fold when the encounter opens on top of it with forced movement, anti-magic pressure, or multiple simultaneous threats. Examples include surprise-heavy encounters in Act 1, layered caster fights in Act 2, and late-game battles where support enemies are more dangerous than the boss itself. If your build fails to protect its first turn, it is already in trouble.
The most common counters are enemy casters, high-AC targets, forced movement, and anti-synergy with your preferred range. Githyanki patrols, cultist groups with support casters, and late-game fights with teleporting or multi-target enemies punish greedy positioning. Open Hand Monk can be checked by enemies that resist direct melee access or that force awkward terrain. Throwing Barbarian can struggle when line of sight is blocked or when targets are spread out across elevation. Sorcerer can be pressured by concentration loss, silence-adjacent disruption, or fights where a single control spell is not enough to stabilize the field.
| Counter type | Examples | Why it hurts | Adaptation |
|---|---|---|---|
| Surprise burst | Ambushes, hidden enemies, scripted openers | Removes your opening advantage | Scout ahead, pre-buff, start from stealth |
| Concentration pressure | Spell-heavy encounters | Breaks your best control line | Prioritize Constitution and defensive positioning |
| Split terrain | High-ground or multi-level arenas | Blocks throws and melee paths | Bring mobility tools and ranged backup |
| Armor-heavy enemies | Elite knights, heavily armored bosses | Reduces simple hit-based value | Use control, accuracy boosts, or save-based spells |
| Add-heavy fights | Summons and support packs | Overwhelms action economy | Focus the enabler first, not always the boss |
The in-game fix is usually to adapt your opener rather than abandon the build. Against the Steel Watch or other armored threats, use control, positioning, and party focus to create a clean kill window. Against enemies like Cazador’s minions or the fight structure around Ketheric’s phase transition, remove the support element first if it is what makes the boss dangerous. Against terrain-heavy encounters in the Shadow-Cursed Lands or the Upper City, use mobility and pre-positioning so that your first turn still matters. Honour Mode is less about having a perfect answer and more about not walking into the fight with a plan that collapses under ordinary pressure.
Common Mistakes
The most common Honour Mode mistakes come from treating the mode like a normal playthrough with harder numbers. That is how runs die.
- Overcommitting to greed on turn one. Players push for damage before securing position because they want faster fights. The fix is to open from stealth or high ground, remove the most dangerous target, and only then spend extra resources.
- Ignoring initiative and Dexterity. Players invest too heavily in damage stats and lose turns to faster enemies. The fix is to raise initiative-friendly stats and use gear that helps you act before enemy casters and archers.
- Spending long-rest resources every fight. Players burn top-end spells and smites on ordinary packs because the buttons feel strong. The fix is to reserve your premium tools for encounters that can actually snowball, like Marcus, Myrkul, or major Act 3 bosses.
- Running a single-line offense with no backup. Players build for one gimmick and collapse when an enemy resists it. The fix is to keep a ranged option, a control spell, or a mobility tool that still works when the main plan is blocked.
- Chasing perfect gear too early. Players delay upgrade decisions because they are waiting for best-in-slot items. The fix is to equip stable Act 1 and Act 2 gear that improves consistency now, then move to signature pieces later.
- Treating summons or allies as guaranteed safety. Players assume extra bodies will save a bad fight. The fix is to use them as pressure relief, not as a substitute for a clean opener and sound positioning.
These mistakes show up constantly in Honour Mode because the mode punishes habits that are merely inefficient in normal difficulty. A bad fight in Honour Mode can become a campaign-ending loss if it happens in a sequence where your party is already low on resources. The practical answer is discipline: scout, pre-buff, control the first turn, and respect the fights that can spiral.
Pro Tips
The strongest Honour Mode players use small habits that compound over the full run.
Tip 1. Pre-position before dialogue triggers
If a boss conversation or scripted encounter is about to start, place your party before the trigger so your opener is not wasted. This matters in fights like Marcus, Ketheric’s transitions, and several Act 3 set pieces where starting squarely in the open is a mistake.
Tip 2. Use stealth to turn hard fights into normal fights
A stealth opener lets you choose the first target instead of reacting to the enemy’s best line. This is especially valuable against ranged support enemies, enemy casters, and patrols where a single surprise round can decide the fight.
Tip 3. Spend control on enablers, not only bosses
In many Honour Mode fights, the dangerous unit is not the boss but the support piece that makes the boss lethal. Examples include enemy casters, summoners, and secondary attackers. Removing them often reduces incoming damage more than focusing the headline target.
Tip 4. Keep a non-resource fallback turn
Every build should have a turn that still works when resources are low: a cantrip chain, basic throws, unarmed attacks, or simple weapon swings. That fallback is what keeps you alive in the long sequence of smaller fights between major rests.
Tip 5. Build for recovery, not just victory
A good Honour Mode build can lose a turn and still recover. That means mobility, healing access, defensive items, or escape tools. In practice, the difference between winning and wiping is often whether your party can reset after one bad initiative roll.
Tip 6. Read the arena before spending movement
Verticality, choke points, and destructible paths matter more in Honour Mode than in lower modes. In locations like the Underdark, Moonrise Towers, and the Upper City, a better position is often worth more than a small damage upgrade.
FAQ
What is the single best Honour Mode build in Baldur's Gate 3?
There is no universal single best build, but Open Hand Monk and Throwing Barbarian are the most consistently safe choices for most players because they combine high damage with simple execution.
Is Honour Mode better for solo or party play?
Party play is safer because it spreads risk, but solo runs can be done by players who understand stealth, initiative, and resource management. The game itself supports both solo and group play Source.
Do I need rare gear to clear Honour Mode?
No. Strong budgeting, good positioning, and a sensible stat spread matter more than chasing every rare item. Many successful runs start with ordinary Act 1 equipment and scale from there.
Which class is easiest for new Honour Mode players?
Battle Master Fighter, Throwing Barbarian, and certain Ranger setups are usually the least demanding because they are straightforward and consistent under pressure.
Is Sorcerer too fragile for Honour Mode?
Not if you build correctly. Sorcerer becomes much safer when you prioritize Constitution, positioning, and spells that control the battlefield before enemies can act.
Should I multiclass for Honour Mode?
Only when the multiclass has a clear payoff. A clean single-class build is often safer for first-time Honour Mode clears than a complicated split that delays core power spikes.
Related Guides
- Baldur's Gate 3 Best Early-Game Builds
- Baldur's Gate 3 Best Solo Builds
- Baldur's Gate 3 Best Party Compositions
- Baldur's Gate 3 Honour Mode Survival Guide
- Baldur's Gate 3 Best Monk Build
- Baldur's Gate 3 Best Barbarian Build
- Baldur's Gate 3 Best Ranger Build
- Baldur's Gate 3 Best Sorcerer Build
Sources
- https://store.steampowered.com/app/1086940/
- https://howlongtobeat.com/?q=bg3
- https://en.wikipedia.org/wiki/Baldur's_Gate_3
See also
- Baldur's Gate 3 baldurs gate 3 best halsin build
- Baldur's Gate 3 baldurs gate 3 best gale build
- Baldur's Gate 3 Investigate the Sel nite Resistance Beginner Guide
- Baldur's Gate 3 baldurs gate 3 best barbarian build
- Baldur's Gate 3 baldurs gate 3 best cleric build
- Baldur's Gate 3 Save the Grymforge Gnomes Beginner Guide
- Baldur’s Gate 3 Best Astarion Build Guide
- Baldur's Gate 3 Steal a Githyanki Egg Beginner Guide
- Baldur’s Gate 3 How to Steal the Sacred Idol: Beginner Guide
- Baldur's Gate 3 Best Archer Build
Screenshots


Reviewed by
BG3 Hub Editorial
Expertise: Editorial team behind BG3 Hub. Content is compiled from official patch notes, community wikis, and playthrough notes, then reviewed and updated on schedule.
Sources
Baldur's Gate 3 Classes Guides →
Browse the complete classes collection and its focused guides.
Related Guides

🔥 Popular Guides

bg3 class tier list act 1
Act 1 BG3 class tier list with S/A/B ranks, matchup flips, mistakes, tips, and an FAQ for new and returning players.
BG3 Top Baldur's Gate 3 Builds Guide
Best BG3 builds explained with roles, stats, gear, counters, budget swaps, and pro tips for any difficulty.
bg3 best builds for honor mode: Baldur’s Gate 3 Build Guide
Top BG3 Honor Mode builds, stat priorities, gear, counters, and budget options for a safer Baldur’s Gate 3 run.
Baldur's Gate 3 Class Tier List
S, A, and B class rankings for BG3 with methodology, situational flips, patch notes, mistakes, pro tips, and FAQs.
📋 Patch Notes & Updates
🛠️ Popular Tools
Frequently Asked Questions
Quick answers from the guide · click a question to expand.
What is the single best Honour Mode build in Baldur's Gate 3?
There is no universal single best build, but Open Hand Monk and Throwing Barbarian are the most consistently safe choices for most players because they combine high damage with simple execution.
Is Honour Mode better for solo or party play?
Party play is safer because it spreads risk, but solo runs can be done by players who understand stealth, initiative, and resource management. The game itself supports both solo and group play Source.
Do I need rare gear to clear Honour Mode?
No. Strong budgeting, good positioning, and a sensible stat spread matter more than chasing every rare item. Many successful runs start with ordinary Act 1 equipment and scale from there.
Which class is easiest for new Honour Mode players?
Battle Master Fighter, Throwing Barbarian, and certain Ranger setups are usually the least demanding because they are straightforward and consistent under pressure.
Is Sorcerer too fragile for Honour Mode?
Not if you build correctly. Sorcerer becomes much safer when you prioritize Constitution, positioning, and spells that control the battlefield before enemies can act.
Should I multiclass for Honour Mode?
Only when the multiclass has a clear payoff. A clean single-class build is often safer for first-time Honour Mode clears than a complicated split that delays core power spikes.
Was this guide helpful?
Rate this guide so we can improve it.
Share your own tip
Found something not in the guide? Submit it below — our editors review every tip before publishing. No account required.