 Baldur's Gate 3
Baldur's Gate 3 Deliver Nere's Head Beginner Guide
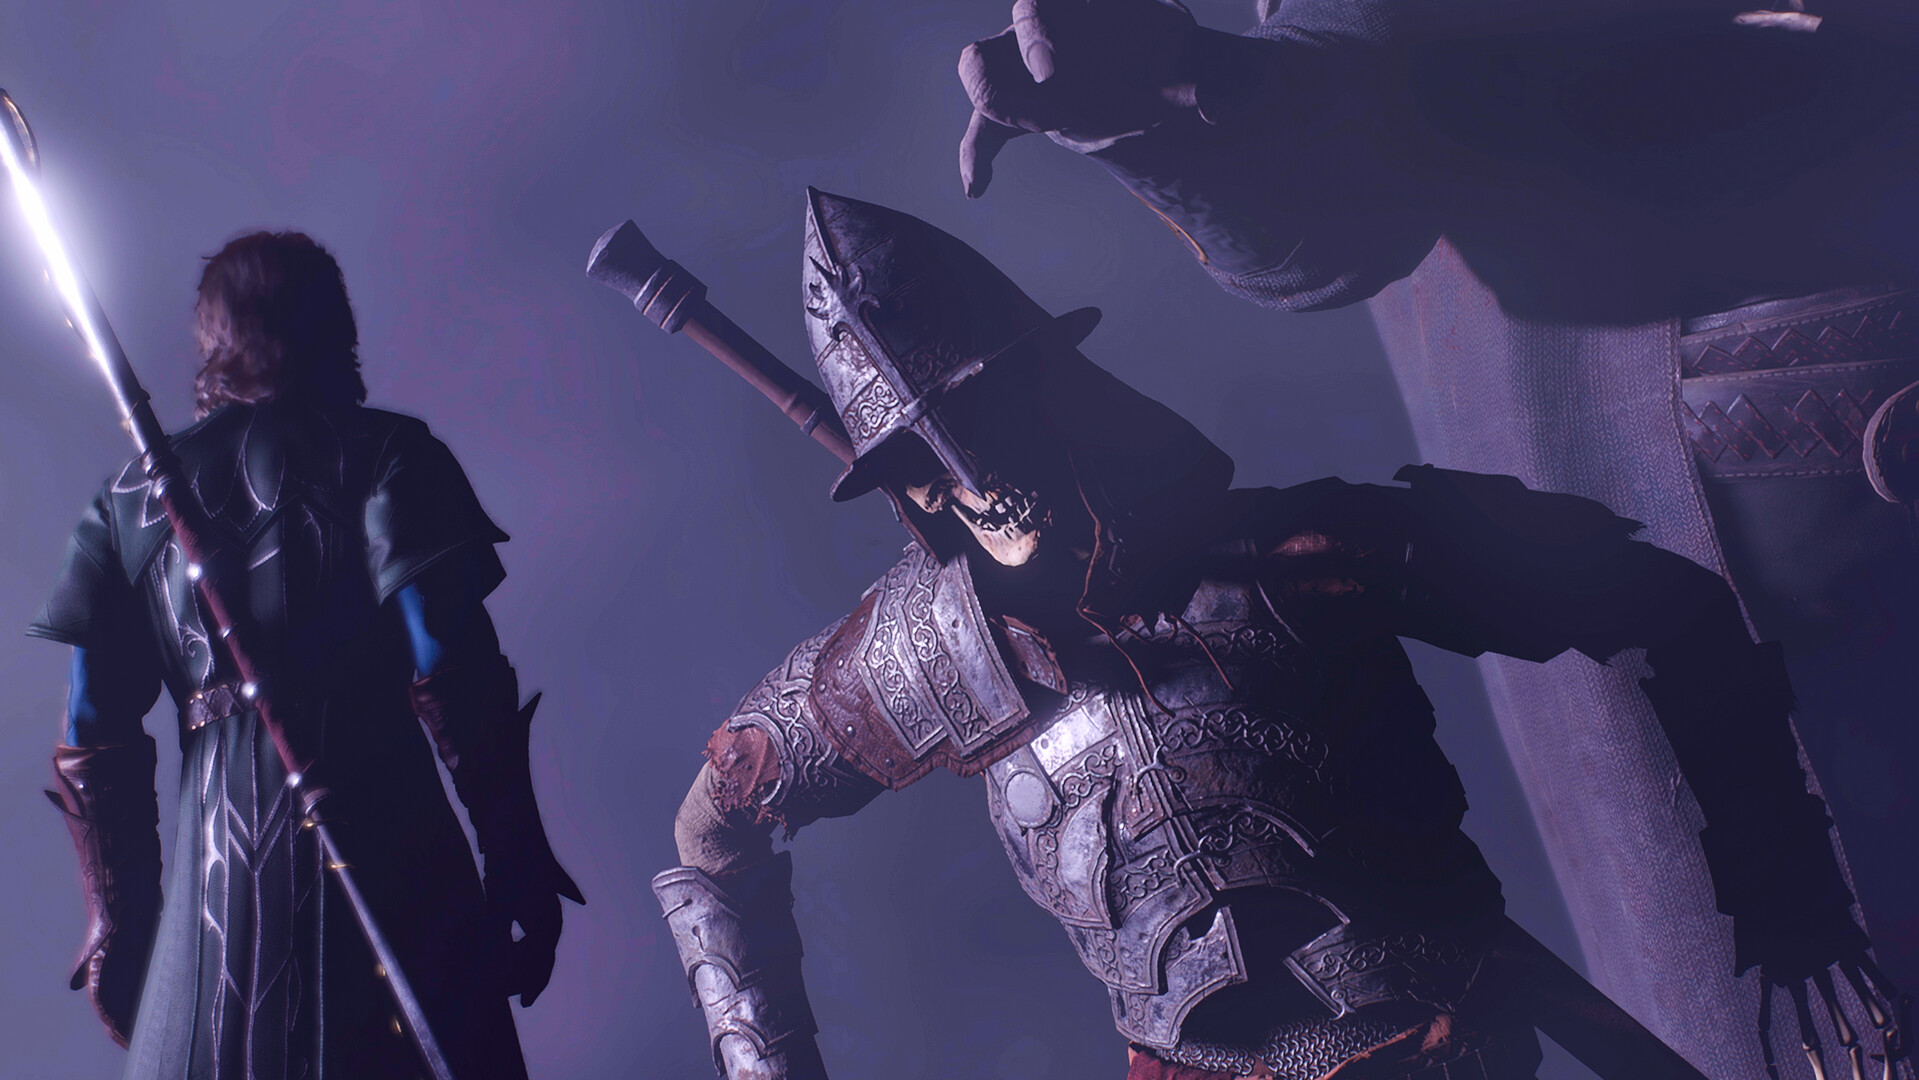
Quick Answer: Baldur's Gate 3 Deliver Nere's Head is a Grymforge quest where you navigate a time-sensitive rescue, clear duergar threats, and decide how to handle Nere’s fate while keeping your party alive and prepared.
Baldur's Gate 3 is a story-rich party RPG where your choices shape the adventure, and its scale is huge: HowLongToBeat estimates roughly 72.71 hours for the main story and 115.69 hours with extras Source, while Steam currently shows 52,201 players in game and an Overwhelmingly Positive review summary at 96.8% positive across 848,142 reviews Source.
What “Deliver Nere’s Head” means in Baldur’s Gate 3
“Deliver Nere’s Head” is the practical way players describe the Grymforge objective chain where you deal with Nere after reaching the underdark’s duergar-infested forge area. The quest is not just a straight boss fight; it is a mix of navigation, timing, dialogue, and combat choices that can end with multiple outcomes depending on your decisions. In beginner terms, the goal is to get through the situation cleanly, preserve resources, and avoid turning a tense quest into a party wipe.
The important thing to understand is that this is a mid-early Act 1 check on your preparation. By the time you arrive at Grymforge, you should already be comfortable with the game’s core loop: moving in exploration mode, using short rests wisely, managing spell slots, and handling party positioning before combat starts. If you rush in without that foundation, Nere’s encounter can feel way harder than it really is. If you arrive prepared, it becomes a very manageable story beat.
A few things make this quest memorable for new players:
- It is one of the first times many players feel the pressure of a time-sensitive situation.
- The area includes environmental hazards and cramped combat spaces.
- Dialogue choices can matter as much as damage output.
- You often need to think about the whole room, not just the enemy in front of you.
You will also be dealing with familiar Baldur’s Gate 3 systems at their most visible. For example, movement and elevation matter in fights against duergar, area spells like Grease and Cloud of Daggers can control narrow paths, and utility actions such as Jump, Shove, and Misty Step can completely change your positioning. That means this quest is a fantastic early lesson in playing BG3 like a tactical RPG instead of a simple brawler.
If you came here searching specifically for Baldur's Gate 3 Deliver Nere's Head, the short version is: don’t tunnel on the head itself. Think about how to get to the room with enough healing, enough spell slots, and enough flexibility to survive whatever direction the quest takes.
First-Hour Checklist
Your first hour should be spent building a party that can survive Grymforge-style pressure, gather useful supplies, and avoid wasting core resources on low-value fights. Even if you are not going straight to Nere, this setup pays off immediately because the underdark and the forge areas reward preparation more than raw aggression.
Do these early actions first
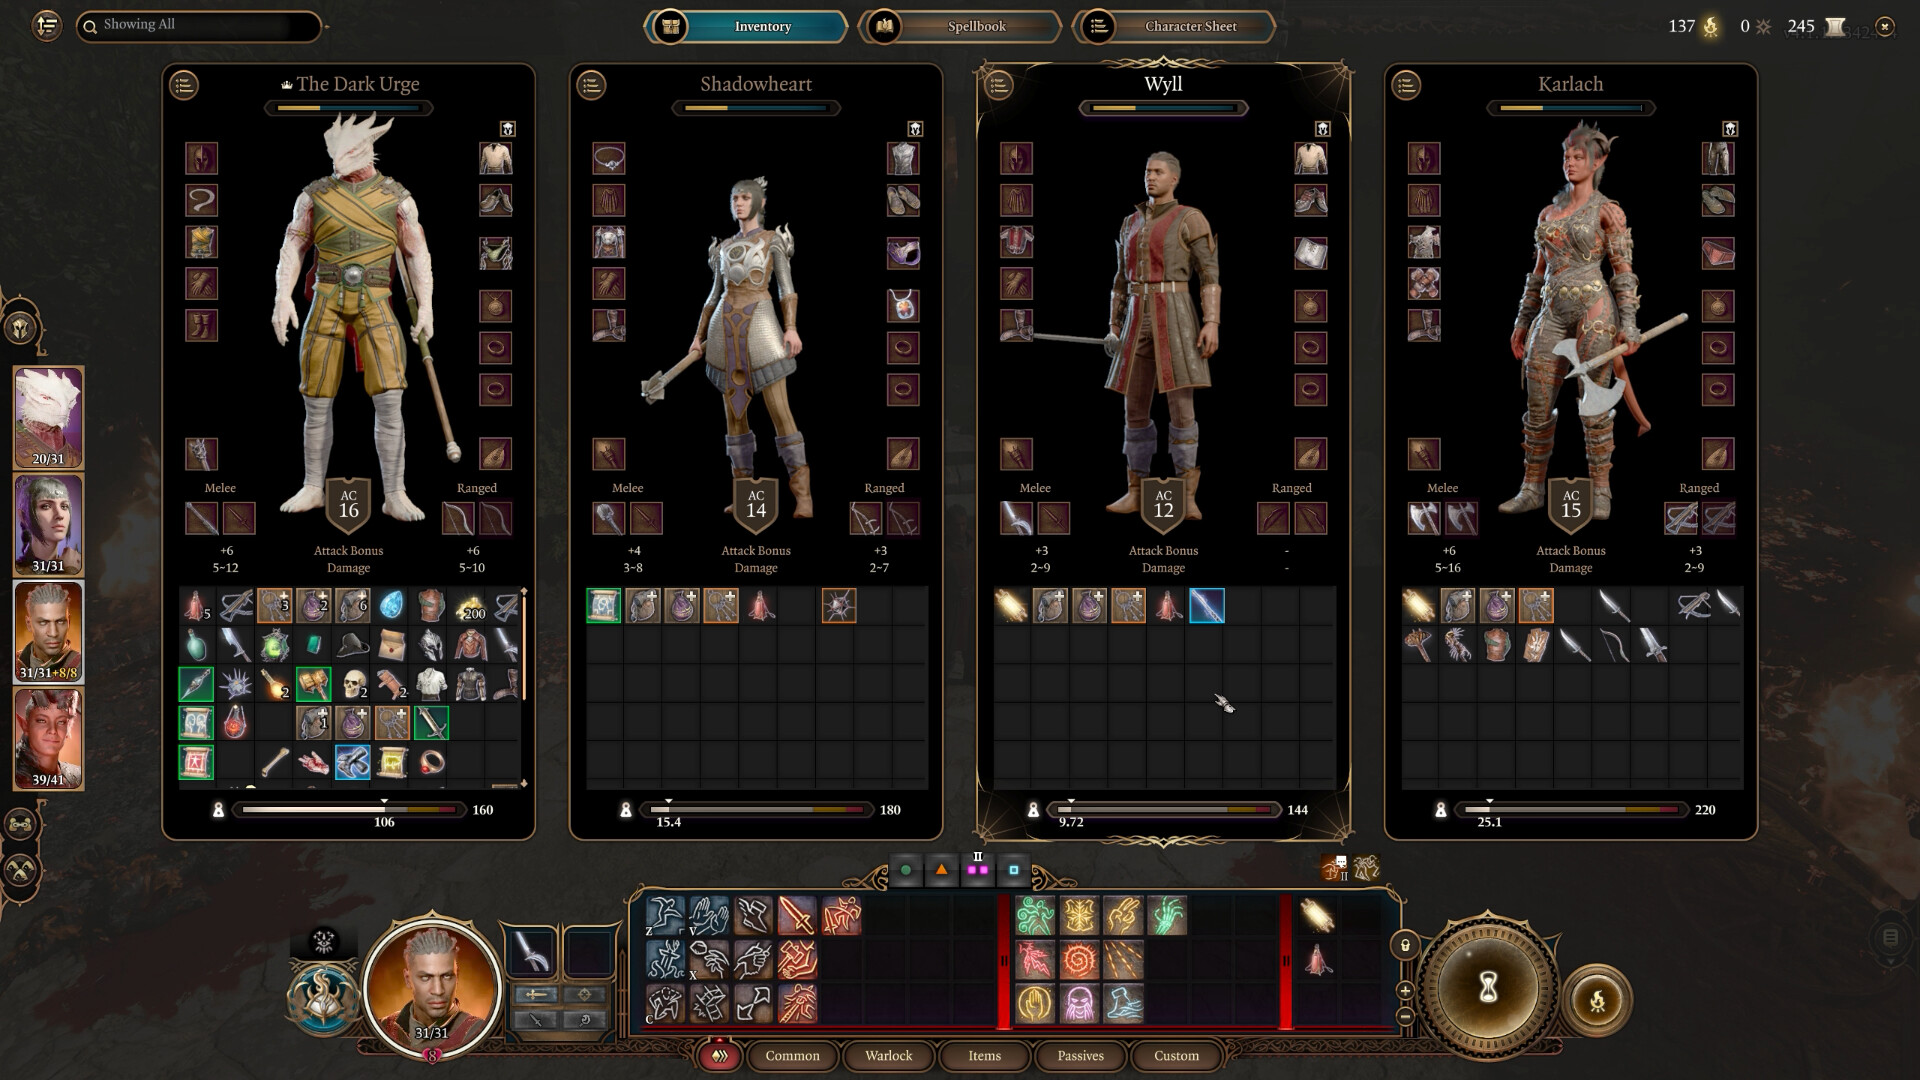
- Recruit a balanced party with at least one frontliner, one ranged damage dealer, one control caster, and one flexible support character.
- Good early examples include Lae’zel as a frontline striker, Shadowheart for healing and utility, Astarion for ranged or stealth damage, and your own character filling whatever hole is missing.
- Loot every obvious container in your opening path and check for scrolls, potions, throwables, and camp supplies.
- In BG3, small items matter a lot: a single Potion of Healing, a Scroll of Misty Step, or an extra Arrow of Fire can save an entire encounter.
- Learn your short rest and long rest rhythm before you enter dangerous areas.
- You should know which classes recover well on a short rest and which ones burn through resources fast.
- Keep at least one character prepared for dialogue
- A character with decent Persuasion, Intimidation, or Deception can turn a fight into an easier path, especially in the underdark’s more political encounters.
- Pick up basic environmental tools
- Look for Smokepowder Barrels, Alchemist’s Fire, and high-ground opportunities.
- Set up a simple combat plan
- Example: Lae’zel holds the front, Shadowheart stays behind cover, Astarion attacks from range, and your caster uses control spells before damage spells.
What to prioritize in your first fights
Your earliest battles are about learning how BG3 expects you to use actions, bonus actions, and positioning. Against goblins, bandits, or small underdark packs, try to practice the following:
- Focus fire on one target instead of spreading damage.
- Use elevation whenever the map allows it.
- Keep fragile party members out of melee range.
- Use shove and disengage tools to avoid opportunity attacks.
- Save premium spell slots unless the fight is clearly dangerous.
For Baldur’s Gate 3 Deliver Nere’s Head specifically, your first hour should also teach you to stop hoarding every consumable “for later.” “Later” is usually the next hard fight, and this quest is one of the moments where a few used potions are worth far more than a full inventory of untouched supplies.
Early exploration habits that help later
- Examine enemies and objects to learn resistances and weaknesses.
- Use the environment before spending spell slots.
- Talk to NPCs twice if the first conversation seems incomplete.
- Check vertical spaces for ladders, ledges, and alternate entrances.
- Send one character ahead cautiously when scouting suspicious rooms.
A beginner who spends the first hour learning these habits will walk into Grymforge with a huge advantage. A beginner who only clicks the obvious attack button will reach Nere with a weaker party, fewer options, and a much worse time.
You might also like
- Baldur's Gate 3 Rescue the Gnome and Stop the Windmill Beginner Guide
- Baldur's Gate 3 Seek Protection from the Shadow Curse: Beginner Guide
- Baldur's Gate 3 How to Solve the Silent Library Puzzle
- Baldur's Gate 3 Ask the Goblin Priestess for Help: Beginner Guide
- Baldur's Gate 3 Silver Sword of the Astral Plane Beginner Guide
Resource Priority Order
Your resource priority should be healing first, mobility second, control third, and luxury damage last. Baldur’s Gate 3 constantly tempts new players into spending everything on flashy attacks, but the game usually rewards staying alive and controlling the battlefield more than firing off the biggest spell available.
What to spend first
| Priority | Spend On | Why It Matters | Early Examples |
|---|---|---|---|
| 1 | Healing and revival | Staying upright is more important than ending a fight fast | Potion of Healing, Healing Word, Scroll of Revivify |
| 2 | Mobility tools | Repositioning prevents deaths and opens tactics | Jump, Misty Step, Dimension Door later |
| 3 | Control consumables and spells | Locking enemies down reduces incoming damage | Grease, Web, Hold Person |
| 4 | Reliable weapon upgrades | Consistent accuracy beats inconsistent burst early | Any weapon with better hit chance or useful bonuses |
| 5 | Damage consumables | Use them when a fight is clearly dangerous | Alchemist’s Fire, Arrows of Acid, explosive barrels |
What to hoard
- Rare scrolls until you actually need them.
- A Scroll of Haste, Scroll of Revivify, or similar clutch item is often better saved than used on a routine skirmish.
- Unique elixirs and special arrows unless the encounter demands them.
- If you only have one tool that solves a hard encounter, don’t waste it on trash enemies.
- Camp supplies in a balanced way.
- Long resting is powerful, but you still want to be deliberate about when you rest.
- Inspiration and key dialogue options
- Don’t force risky rolls if you have a safer route through conversation.
What to craft or collect early
Crafting in BG3 is more about making use of ingredients than building a giant economy. Early on, focus on practical battlefield tools:
- Healing potions when ingredients are available.
- Weapon coatings if your build can use them effectively.
- Surface-generating items like grease-like terrain control or fire sources.
- Basic grenades and throwables for clustered enemies.
Two or three examples of high-value early utility are enough to change a fight: a Potion of Healing to save a downed companion, Grease to pin enemies on a narrow bridge, and Alchemist’s Fire to punish clustered duergar or goblins. Those are not “bonus” items; they are core survival tools.
Resource mistakes to avoid
The biggest beginner trap is spending everything because the game gives you so many options. The second biggest trap is never spending anything because you are worried about “wasting” resources. The correct middle ground is simple: spend freely on ordinary fights, spend carefully on boss-like encounters, and absolutely spend when the room itself is the threat.
For Baldur’s Gate 3 Deliver Nere's Head, that means entering the quest with healing items ready, mobility tools available, and a few crowd-control options saved. If you do that, the quest becomes a tactical problem instead of a panic button simulator.
How to Handle the Quest Without Getting Lost
You handle the Nere quest best by treating Grymforge like a pressure cooker: move carefully, talk to important NPCs, and never assume the first obvious answer is the safest one. The area is built around tension, and beginner players often misread that tension as a sign they must rush. In reality, you usually want the opposite: slow down, observe, and make the environment work for you.
The encounter is memorable because it mixes exploration and combat in a way that the game loves to do. You are not only fighting enemies; you are dealing with positioning, possible allies, trapped spaces, and the consequences of how you chose to approach the area. A new player who treats it like a linear hallway fight is in for a rough time. A player who uses the game’s systems—dialogue, terrain, control spells, and party roles—can turn it into a much cleaner success.
Here are the key ways to keep the quest under control:
- Talk first, attack second.
- The underdark and Grymforge both reward information. Conversations can reveal who is hostile, who is vulnerable, and which actions will trigger immediate combat.
- Inspect the room before committing.
- Check for elevation, lava or fire hazards, explosive objects, and chokepoints.
- Keep your party spread enough to avoid area punishment.
- Cramped formations get crushed by splash damage, cones, and forced movement.
- Use control rather than brute force when the enemy group is large.
- A well-placed spell or surface effect can do more than a round of raw attacks.
- Be prepared for betrayal, reinforcements, or shifting alliances.
- Baldur’s Gate 3 loves to make social choices matter, and Grymforge is no exception.
For a beginner, the strongest mindset is “reduce risk first.” That means you look for ways to make the battle simpler before you start trying to win it harder. If you can funnel enemies into a choke point, you do that. If you can talk an enemy group into an easier state, you do that. If you can attack from high ground, you do that. If you can isolate a target, you do that.
That same mindset works in almost every Act 1 challenge, so learning it here pays off throughout the rest of the game. It is also why the search term Baldur's Gate 3 Deliver Nere's Head ends up being less about a single item hand-in and more about understanding how BG3 asks you to think.
Common Mistakes
Beginners usually make the same few errors in this quest, and each one has a straightforward fix. If you correct these early, the whole Grymforge sequence becomes much less punishing.
1. Rushing into the room without scouting
Why players do it: The quest feels urgent, so many players sprint forward as soon as they arrive.
Fix: Stop outside the fight space, rotate the camera, inspect elevations, and look for enemy positions, environmental hazards, and escape routes before you move in.
2. Burning all spell slots on small fights
Why players do it: Early combat encourages experimentation, and flashy spells are fun.
Fix: Use cantrips, basic attacks, and cheap control on easy enemies; reserve stronger spells like big AoE or premium disables for the actual Nere sequence.
3. Standing the whole party in one clump
Why players do it: Tight formations feel safer and easier to manage.
Fix: Spread characters far enough apart that a single area attack cannot tag everyone, but keep them close enough to help each other with heals and support.
4. Ignoring dialogue and jumping straight to combat
Why players do it: Many players assume talking is optional flavor.
Fix: Exhaust important conversations before initiating violence; NPC dialogue can reveal alternate outcomes, safer entry points, or useful leverage.
5. Hoarding every consumable until they expire in your inventory
Why players do it: RPG habits teach players to “save the good stuff.”
Fix: Use healing potions, throwables, and scrolls when they prevent a wipe; a spent item that wins a fight is worth far more than a forgotten item.
6. Forgetting to reposition after knocking enemies prone or away
Why players do it: New players often end their turn as soon as damage is dealt.
Fix: After control effects land, move fragile party members into safer cover, advance your melee units only if they can finish a target, and use bonus actions to improve the next round.
7. Treating the quest as pure DPS check
Why players do it: Many RPGs train players to maximize damage output first.
Fix: Focus on control, initiative, positioning, and resource timing; the fight becomes much easier when enemies cannot all act freely.
Pro Tips
These tips go beyond the obvious “heal more” and “use high ground” advice. They are the kind of small edge cases that quietly make a beginner look experienced.
Tip 1. Open with control, not damage
If your opening turn can place Grease, Web, or a similar control effect, do that before attacking. A trapped duergar line or a delayed enemy push is often more valuable than a single extra hit.
Tip 2. Keep one emergency movement option ready
A Misty Step scroll, a jump-heavy character, or a character with strong movement gear can rescue a bad formation. Save that option for the turn where someone gets boxed in or shoved into danger.
Tip 3. Use one party member as the “talker”
When a conversation might turn ugly, position your best face character to lead. If they have strong Persuasion or Deception, they can sometimes improve the opening conditions before initiative even starts.
Tip 4. Turn the room into a weapon
Ledges, choke points, and explosive objects are not background dressing. If you see a narrow ramp, a burning surface, or a throwable explosive, assume Larian expects you to exploit it.
Tip 5. Rotate wounded characters out of danger before healing
Healing after a character is already surrounded is riskier than healing after they step back. Use Disengage, Dash, or movement spells first, then heal from safety.
Tip 6. Keep one scroll for “unexpected nonsense”
BG3 loves to throw a surprise at you right after you feel safe. Holding a single clutch scroll—something like a revive or emergency escape—can save an entire run when the fight goes sideways.
Tip 7. Check enemy size and resistances before you commit tools
A fire surface is amazing against some enemies and far less useful against others. The game gives you enough information if you pause and inspect, so use that information before throwing your best consumable.
Graduation Threshold
You are out of the beginner phase when you can enter a quest like Deliver Nere’s Head with a plan and adapt it mid-fight without freezing up. That shift usually happens when you stop thinking of Baldur’s Gate 3 as “my characters attack on their turns” and start thinking of it as a layered tactics game with dialogue, terrain, consumables, and turn order all pulling together.
A beginner is still learning how the systems work. A more advanced player already knows how to:
- Build a party around roles instead of favorite personalities alone.
- Use positioning before damage.
- Judge when a fight should be solved by dialogue, stealth, or combat.
- Spend resources intentionally instead of either hoarding or spamming.
- Recover from mistakes without reloading every time something goes wrong.
You can think of yourself as graduated from beginner status when the following feels normal:
- You open fights from high ground when possible.
- You save top-tier consumables for hard encounters.
- You know which party member should start conversations.
- You understand when to rest and when to push forward.
- You can look at a room and immediately spot danger zones and control opportunities.
In practical terms, if you can handle the Nere sequence without consulting a guide every few minutes, you are leaving beginner territory. If you can do it while also understanding why your approach worked, you are already well on your way to the game’s mid-level tactical play. That is the real milestone, not beating one quest.
Related Guides
If this quest is giving you trouble, the best next step is to strengthen the systems around it with these sibling guides:
- Baldur’s Gate 3 Best Early Builds
- Baldur’s Gate 3 Class Tier Guide
- Baldur’s Gate 3 Act 1 Walkthrough
- Baldur’s Gate 3 Companion Guide
- Baldur’s Gate 3 Best Spells for Beginners
- Baldur’s Gate 3 Combat Basics Guide
- Baldur’s Gate 3 Underdark Walkthrough
Sources
- https://store.steampowered.com/app/1086940/
- https://howlongtobeat.com/?q=bg3
- https://www.protondb.com/app/1086940/
- https://steamcommunity.com/stats/1086940/achievements
- https://store.steampowered.com/app/1086940/
See also
- Baldur's Gate 3 Solve the Open Hand Temple Murders: Beginner Guide
- Baldur's Gate 3 baldurs gate 3 build dark urge Guide
- baldurs gate 3 lae'zel build: Best Fighter Setup for Lae’zel
- Baldur's Gate 3 baldurs gate 3 best honour mode builds
- Baldur's Gate 3 Kill Raphael's Old Enemy Beginner Guide
- Baldur's Gate 3 necromancy build
- Baldur's Gate 3 baldurs gate 3 best dual wield build
- Baldur's Gate 3 Investigate the Sel nite Resistance Beginner Guide
- baldurs gate 3 best lae'zel build
- Baldur's Gate 3 baldurs gate 3 build tool: A Practical Build Guide for Reliable Party Power
Screenshots



Reviewed by
BG3 Hub Editorial
Expertise: Editorial team behind BG3 Hub. Content is compiled from official patch notes, community wikis, and playthrough notes, then reviewed and updated on schedule.
Sources
Related Guides
%27/><stop offset=%271%27 stop-color=%27hsl(80,50%,18%)%27/></linearGradient></defs><rect width=%27460%27 height=%27215%27 fill=%27url(%23g)%27/><text x=%27230%27 y=%27115%27 text-anchor=%27middle%27 font-family=%27sans-serif%27 font-size=%2724%27 font-weight=%27700%27 fill=%27rgba(255,255,255,0.85)%27>App 1086940</text><text x=%27230%27 y=%27142%27 text-anchor=%27middle%27 font-family=%27sans-serif%27 font-size=%2711%27 fill=%27rgba(255,255,255,0.6)%27>no image yet</text></svg>)
🔥 Popular Guides

bg3 class tier list act 1
Act 1 BG3 class tier list with S/A/B ranks, matchup flips, mistakes, tips, and an FAQ for new and returning players.
BG3 Top Baldur's Gate 3 Builds Guide
Best BG3 builds explained with roles, stats, gear, counters, budget swaps, and pro tips for any difficulty.
bg3 best builds for honor mode: Baldur’s Gate 3 Build Guide
Top BG3 Honor Mode builds, stat priorities, gear, counters, and budget options for a safer Baldur’s Gate 3 run.
Baldur's Gate 3 Class Tier List
S, A, and B class rankings for BG3 with methodology, situational flips, patch notes, mistakes, pro tips, and FAQs.
📋 Patch Notes & Updates
🛠️ Popular Tools
Was this guide helpful?
Rate this guide so we can improve it.
Share your own tip
Found something not in the guide? Submit it below — our editors review every tip before publishing. No account required.